- 19 Nov 2024
- 3 Minutes to read
- Print
- DarkLight
- PDF
Installation and SSO configuration
- Updated on 19 Nov 2024
- 3 Minutes to read
- Print
- DarkLight
- PDF
How to install Turbo360 BAM components
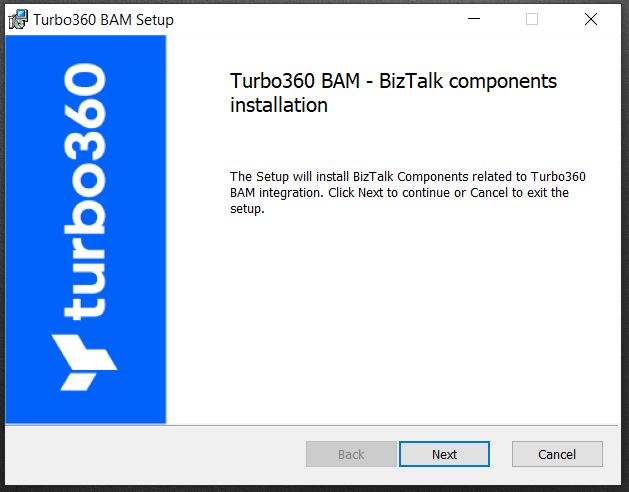
- Launching the MSI file will open the installation wizard for setting up Turbo360 BAM integration.
- Click Next and accept the license agreement.
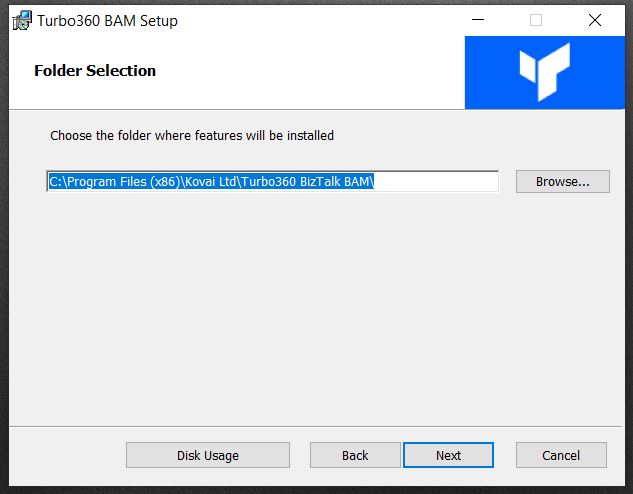
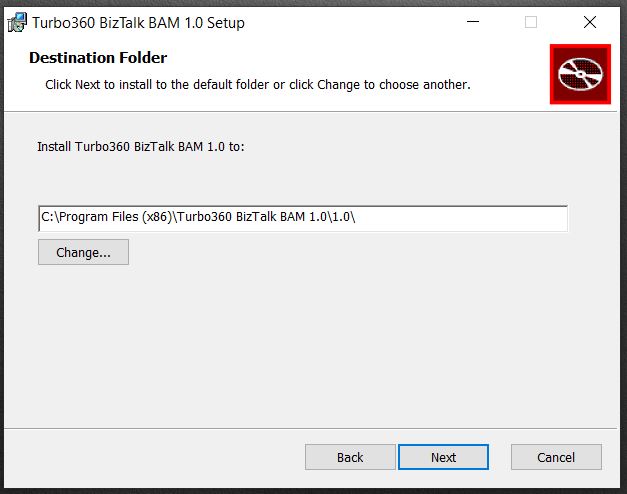
- Select the installation folder and click Next.
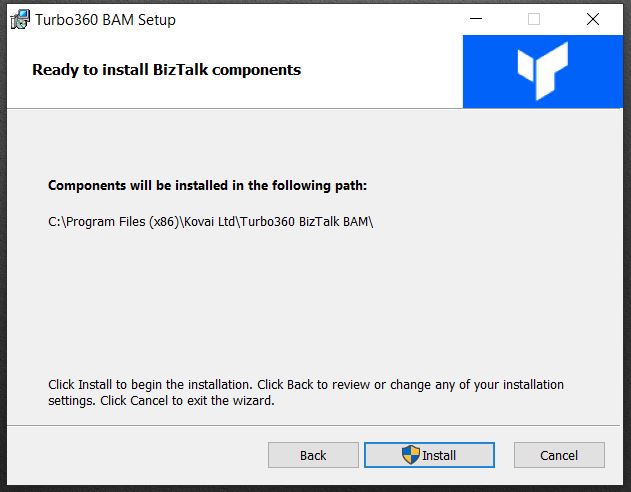
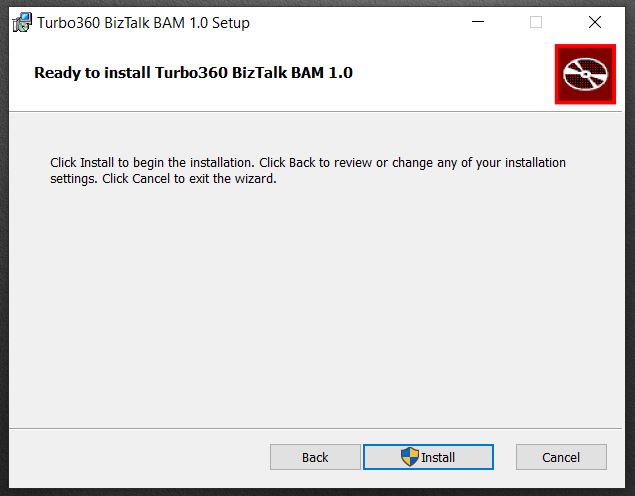
- Click install to continue with the installation.
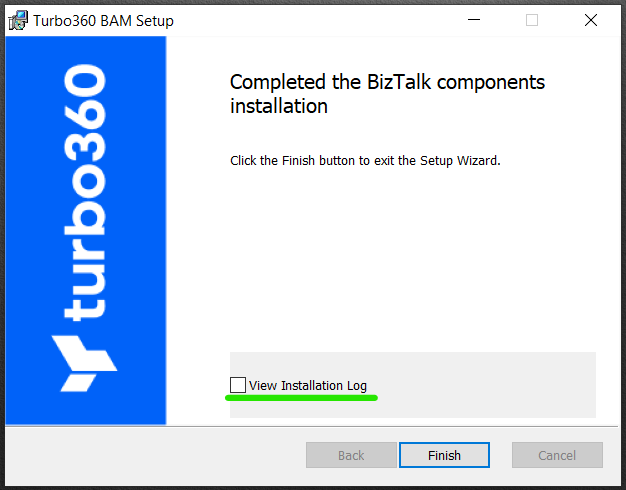
- To view the installation logs select View Installation Log and click finish.
Folders and Contents
After the successful installation, the following folders will be created in the deployed location.
- The Assemblies folder contains all the required DLLs. You can use them in the pipeline and orchestration projects.
- The BizTalk folder contains subfolders MSI\BizTalkBAM that will have a "Turbo360 BizTalk BAM-1.0" MSI file. Turbo360 BizTalk BAM-1.0.msi contains sample pipelines and schemas. It can be used in the required BizTalk Applications.
- In the SDK folder, under the path (Configuration/BAMConfiguration), an executable file called Kovai.T360.BAM.Configuration will be available, which can be used to configure the BAM Function App URL and key in the SSO DB. Additionally, under the Configuration folder an XML file named Configuration will be available, which is editable to make modifications to the logging settings for the Event viewer.
How to install the BizTalk application with artifacts
The BizTalk folder from the previous installation contains the subfolders MSI\BizTalkBAM where you find Turbo360 BizTalk BAM MSI, which can be used to install the BizTalk application with artifacts.
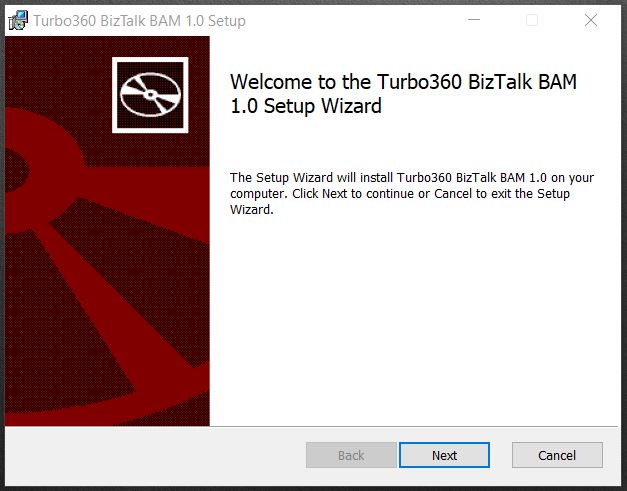
- Launch the "Turbo360 BizTalk BAM-1.0.msi" file to get started with the installation wizard.
- Click Next and accept the license agreement.
- Select the required installation folder and click Next.
- Click install to continue with the installation.
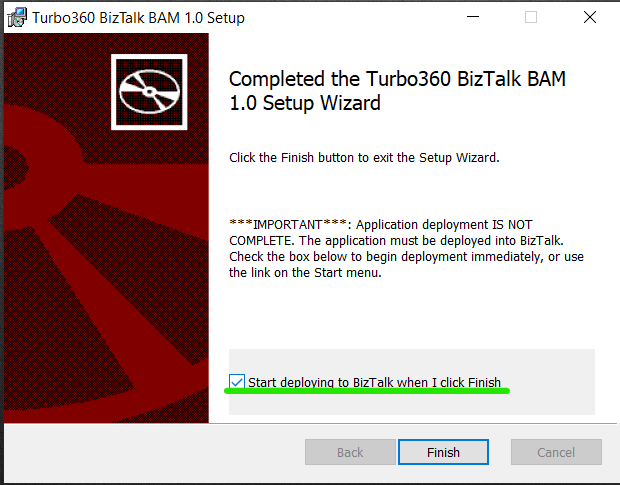
- Once the installation is complete, select "Start deploying to BizTalk when I click Finish" to deploy the application to BizTalk Management DB and click Finish.
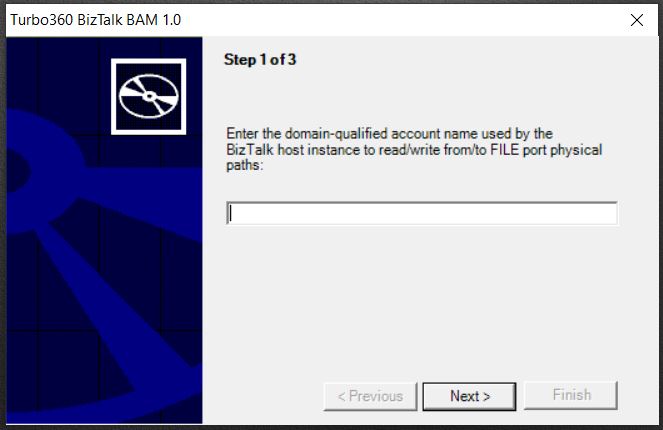
- During the deployment, enter the FILE adapter host username in the text box and click Next.
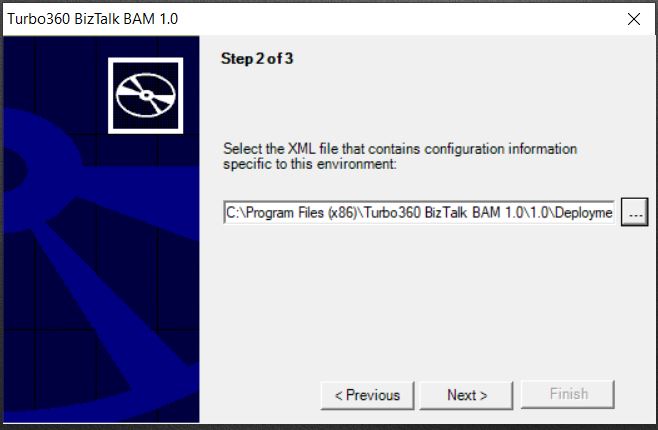
- Select the required configuration settings file and click next. The configuration files are in the Environment Settings folder under Turbo360 BizTalk BAM-1.0 installation location.
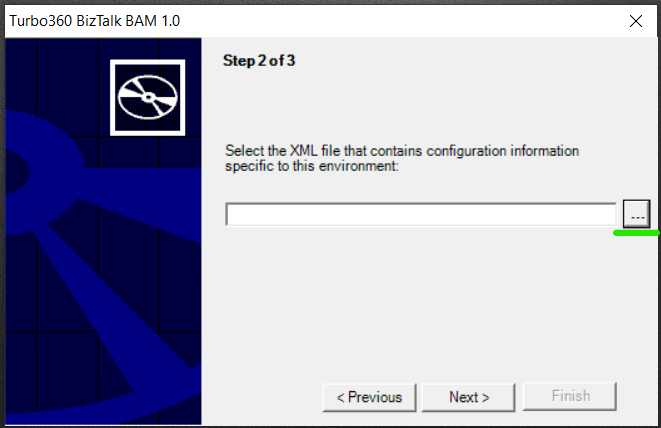
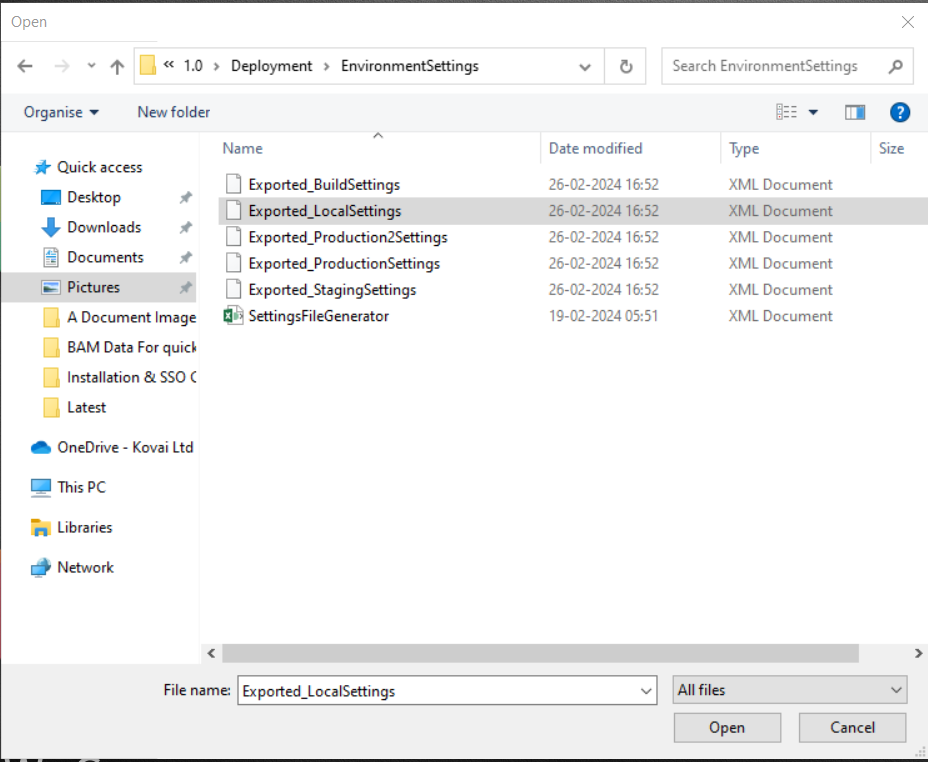
If your SSOAppUserGroup and SSOAppAdminGroup have different users, then modify those values in the relevant environment settings. The below mentioned default users will be applied to all environment settings files.

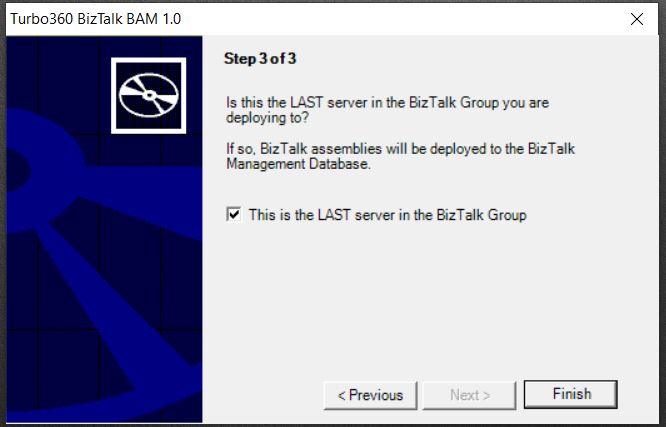
- Select the "This is the LAST server in the BizTalk Group" option if your server is the last group in the BizTalk server and click Finish.
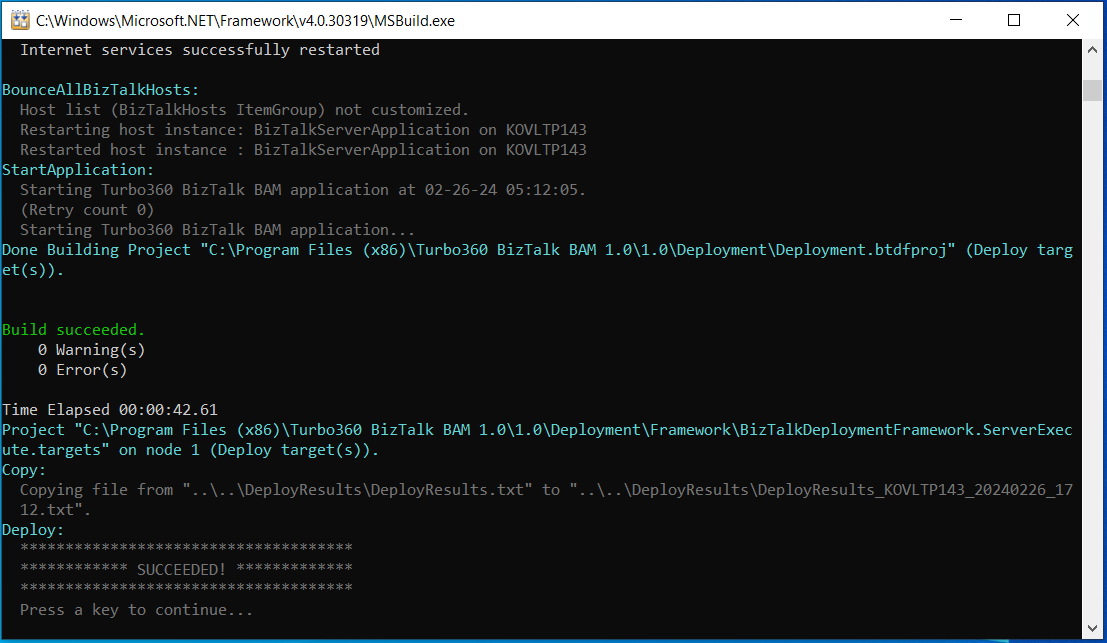
The status will be displayed as below once the deployment is complete.
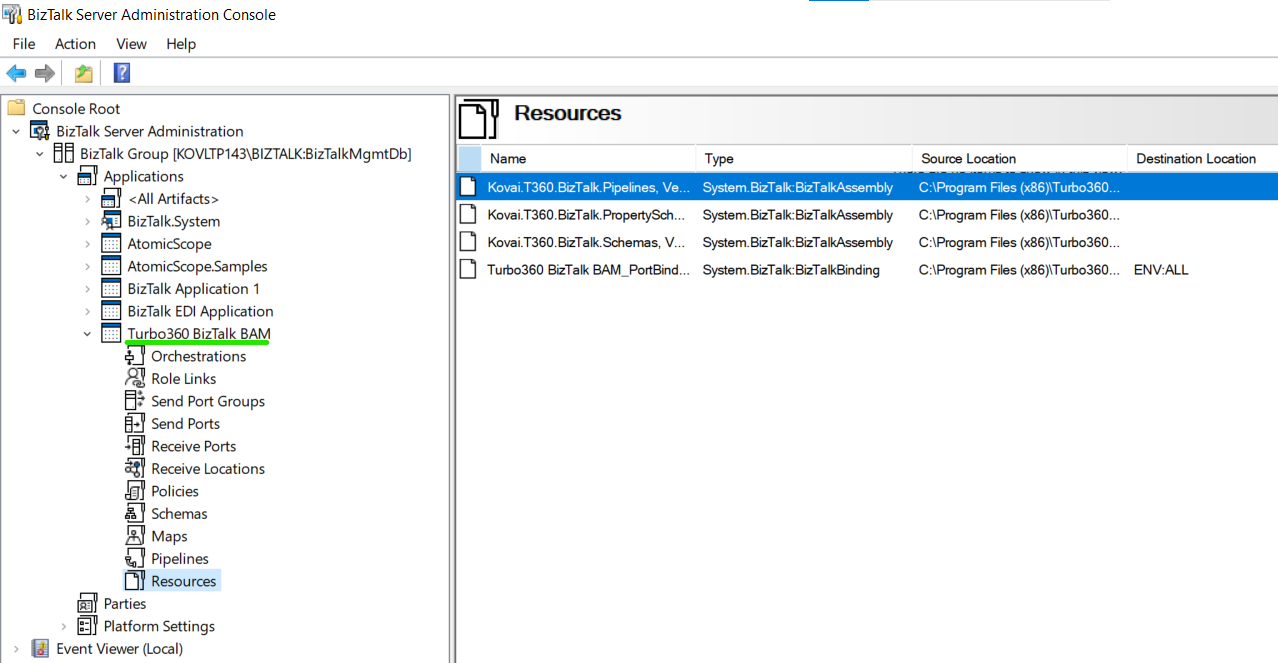
Once the deployment is complete, the Turbo360 Biztalk BAM application will be available in the Admin Console with some sample schemas and pipelines.
How to configure Turbo360 BAM in SSO DB
An executable will be available in the first installation folder under the path "\SDK\Configuration\BAMConfiguration"
Launch the Kovai.T360.BAM.Configuration application.
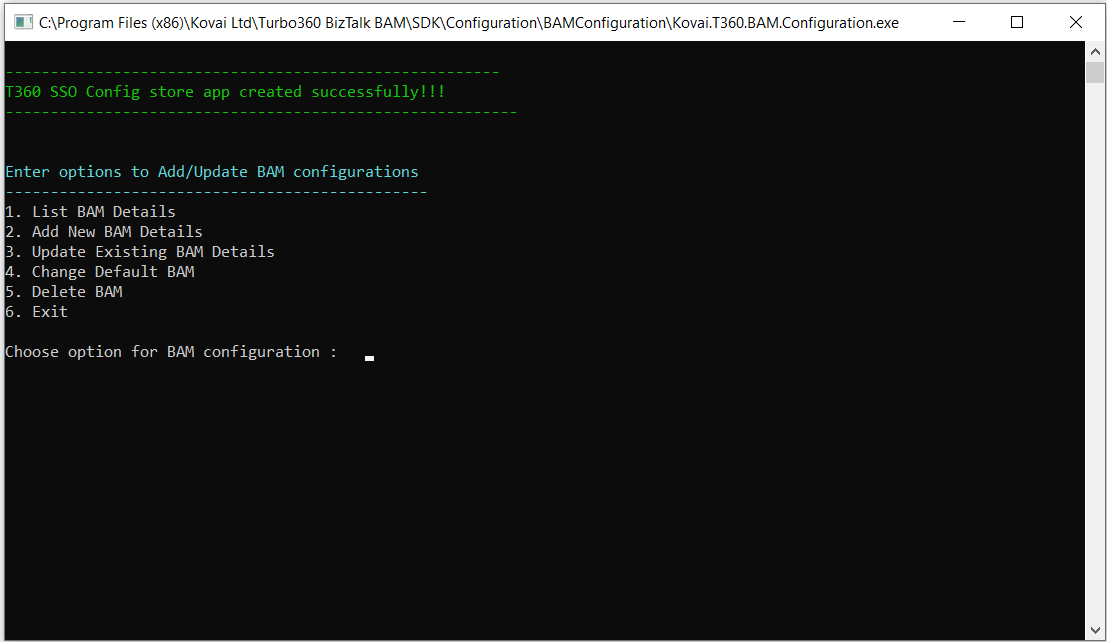
To add new BAM details, enter 2 and press Enter.
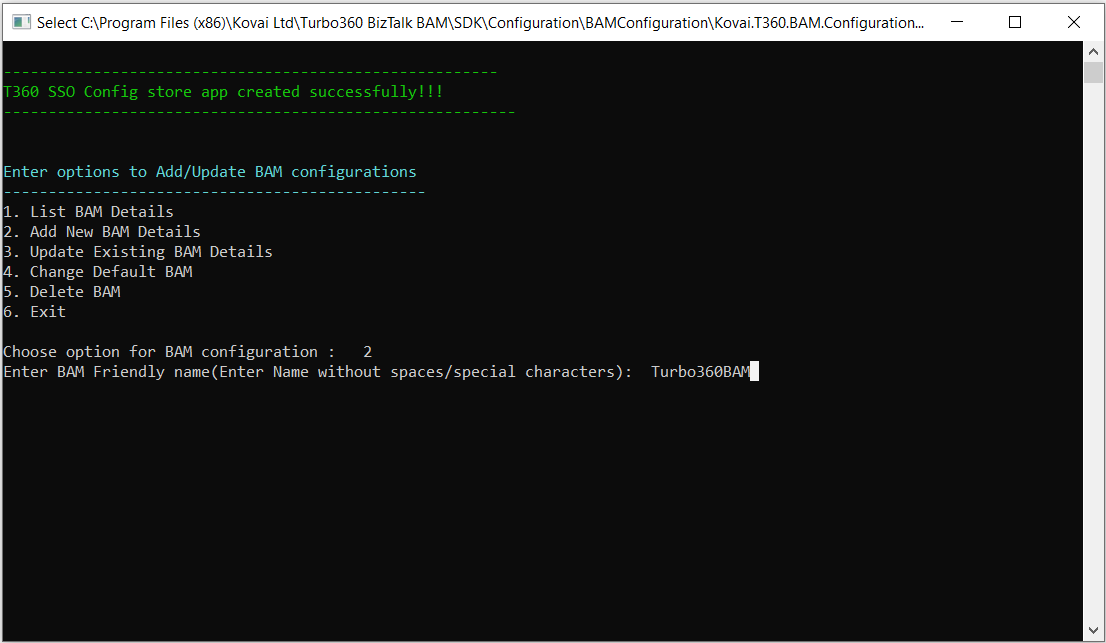
- Enter a value for BAM Friendly name and press Enter.
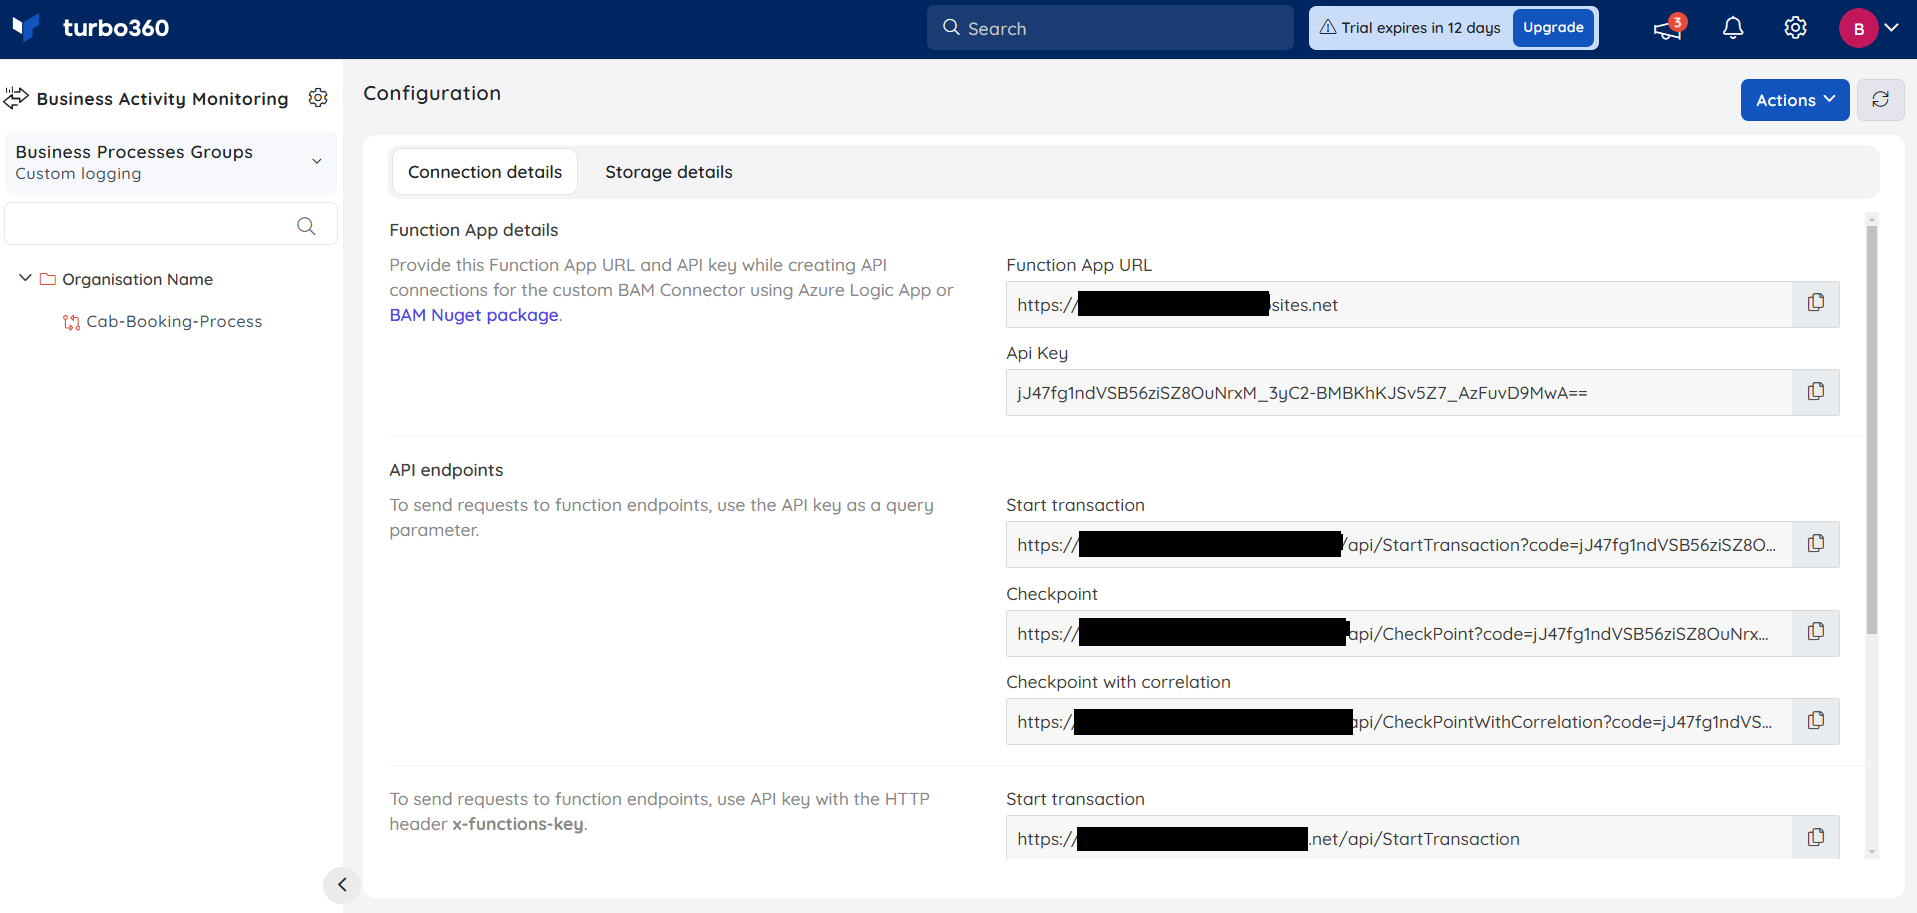
- Copy and paste the BAM Function App URL and API Key from your Turbo360 BAM account and press Enter.
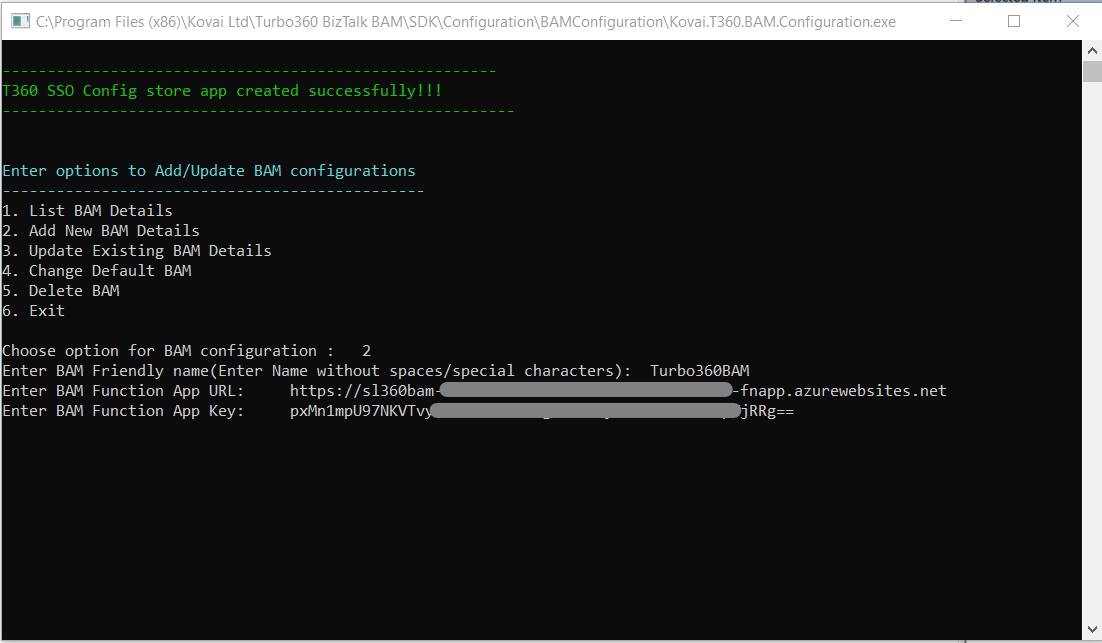
- To configure multiple BAM environment details, enter Y, and repeat the above steps.
- You can also use this application to change the Default BAM settings and update/delete the existing BAM details by choosing the options.
| Option | Description |
|---|---|
| 1. List BAM Details | List all the configured BAM details in the SSO DB. |
| 2. Add new BAM Details | Add new BAM details to the SSO DB. |
| 3. Update Existing BAM Details | Update the existing BAM Function app URL and API Key in the SSO DB. |
| 4. Change Default BAM | Change the default BAM in the SSO DB. |
| 5. Delete | Delete the configured BAM from the SSO DB. |
| 6. Exit | Close the application. |
- Enter 6 and press Enter to exit the application. Press Enter again to leave the Command window.


