- 08 May 2025
- 5 Minutes to read
- Print
- DarkLight
- PDF
Managing Business Application Groups
- Updated on 08 May 2025
- 5 Minutes to read
- Print
- DarkLight
- PDF
Introduction
Business Application Groups can be created to organize a collection of Business Applications related to an enterprise for better management.
A Business Application Group can contain multiple Business Applications. Within a Business Group, there can be several groups.
Group management
Add a group
A Business Application Group can be created and configured in two ways:
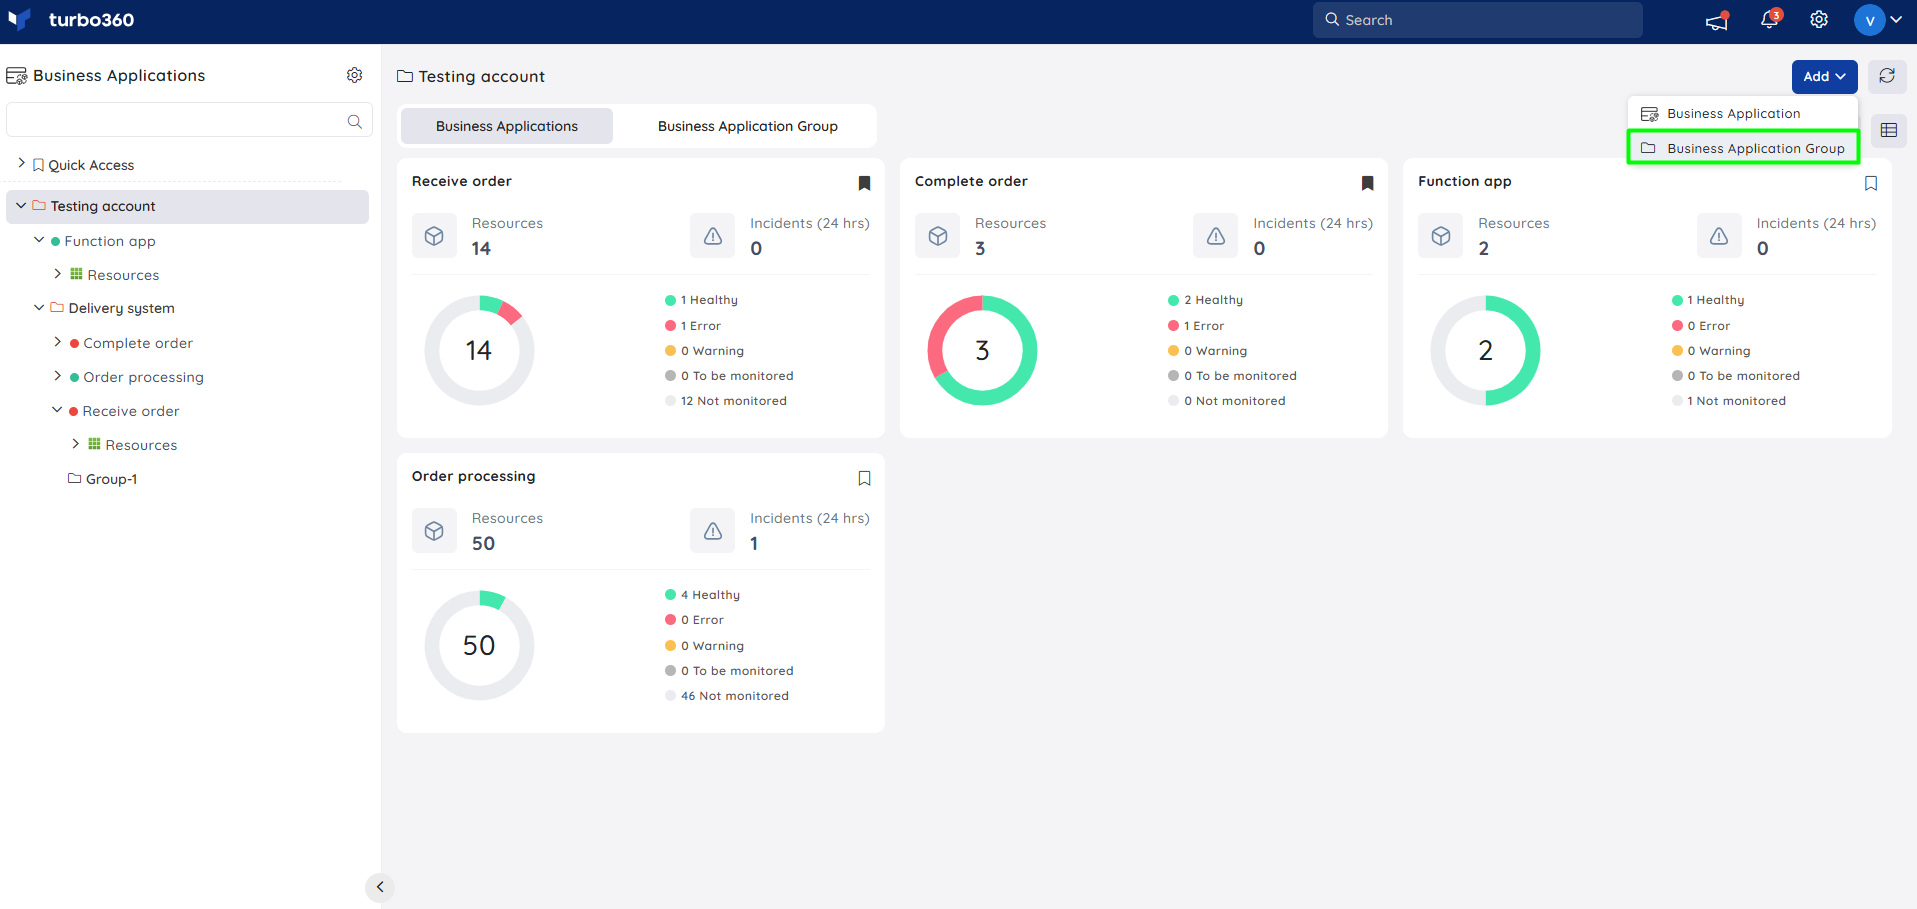
1. Add button
- Click the Add option available on the Business Application home screen.
- Choose the Business Application Group option from the drop-down.
- Enter a name for the Business group.
- Configure access policy to the Business group. Users are asked to select the Service principals that the Business Group and its inherited groups and applications can access. The access policy can be changed at any time.
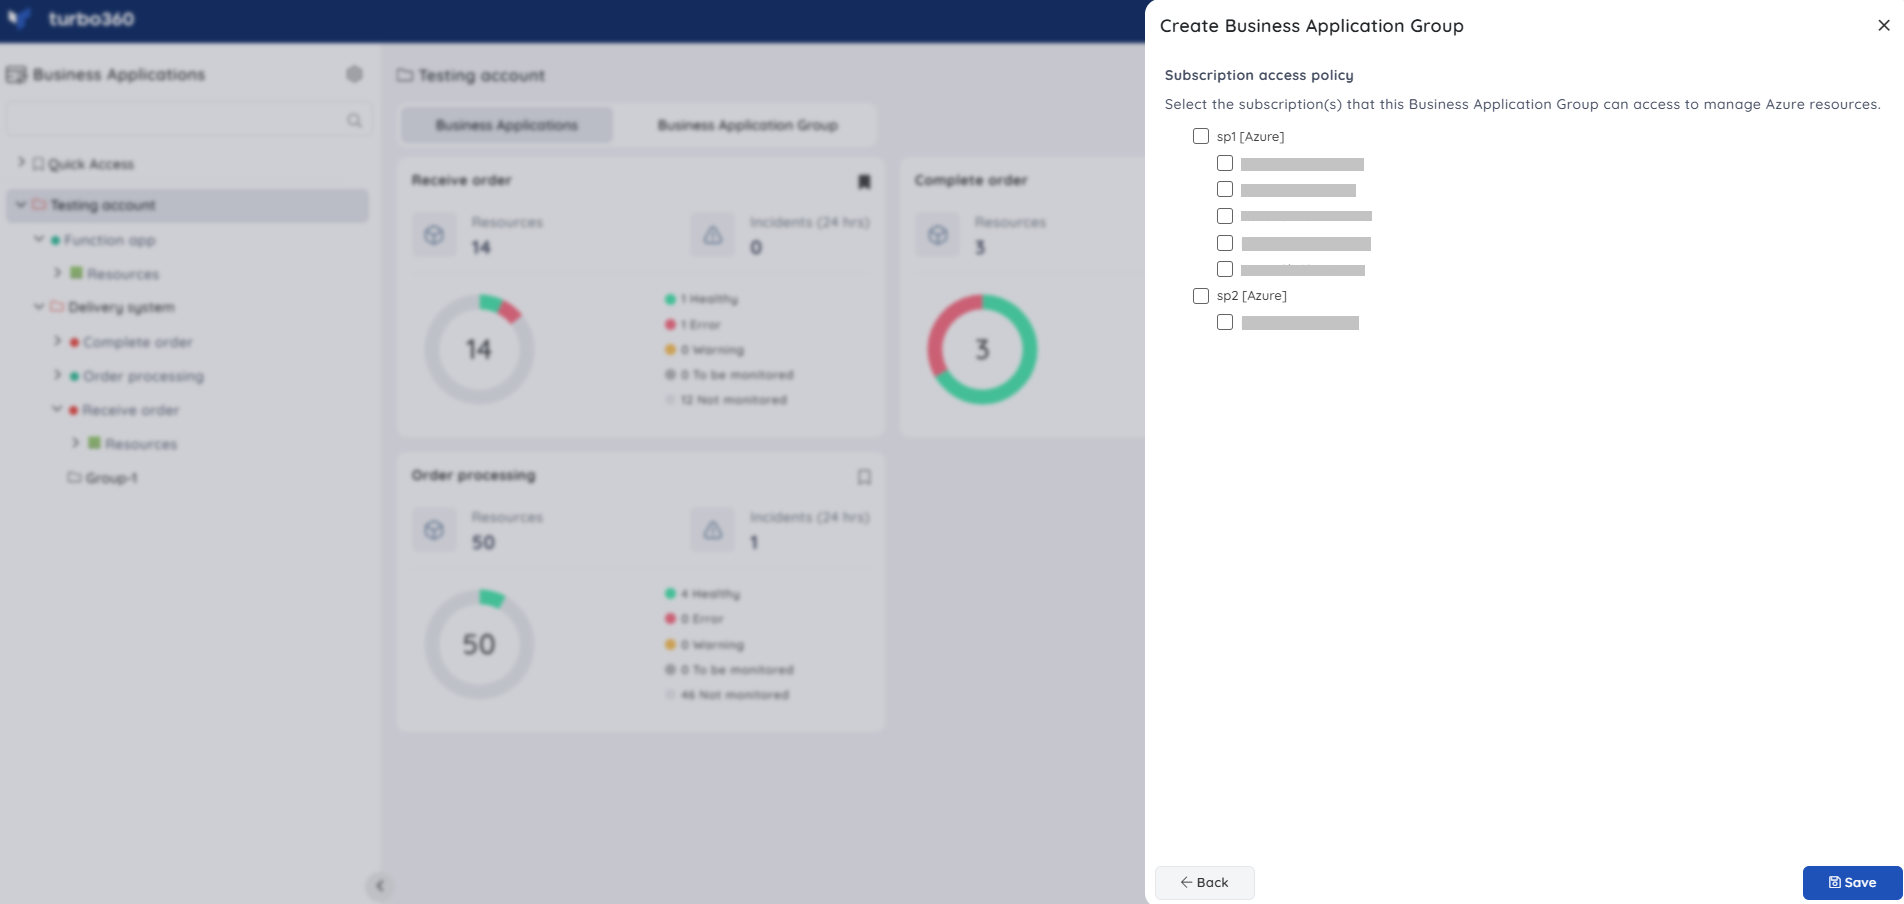
- Click Save.
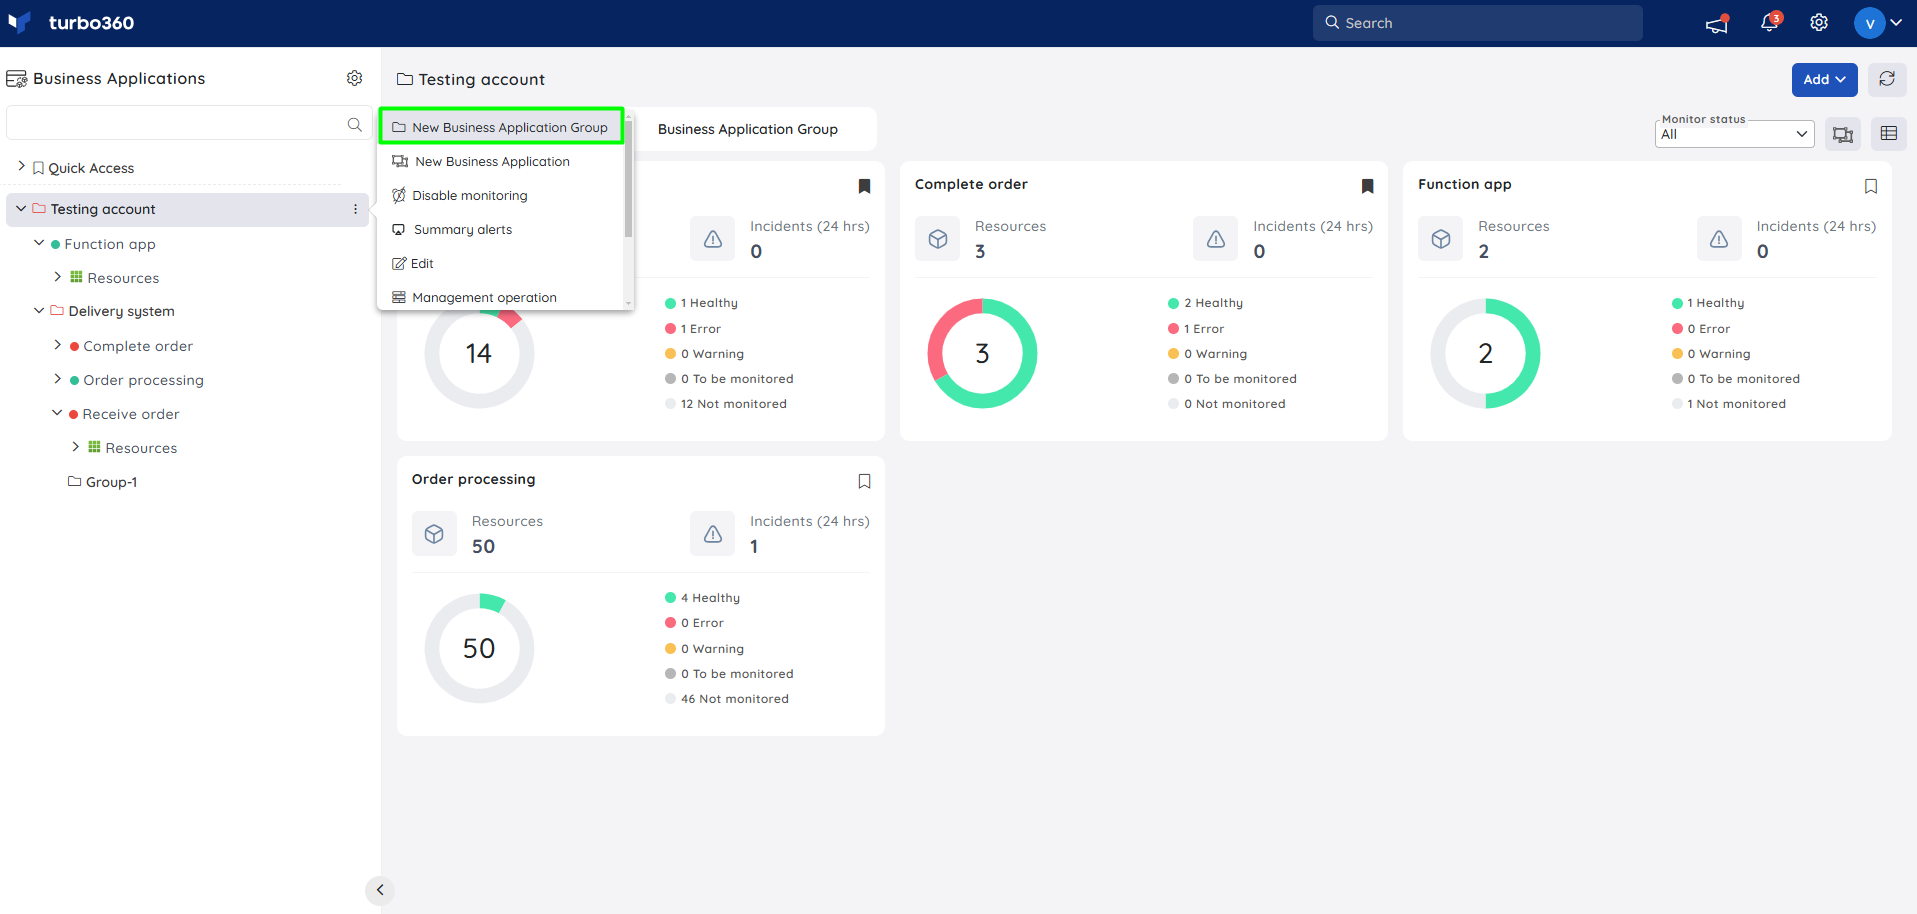
2. Context menu
- Click on the three-dotted icon next to any of the Business Groups in the tree structure to create a parent/child group.
- Select New Business Application group from the context menu.
- Enter a name for the Business group.
- Configure access policy to the Business group. Users are asked to select the Service principals that the Business Group and its inherited groups and applications can access. The access policy can be changed at any time.
- Click Save.
Edit a group
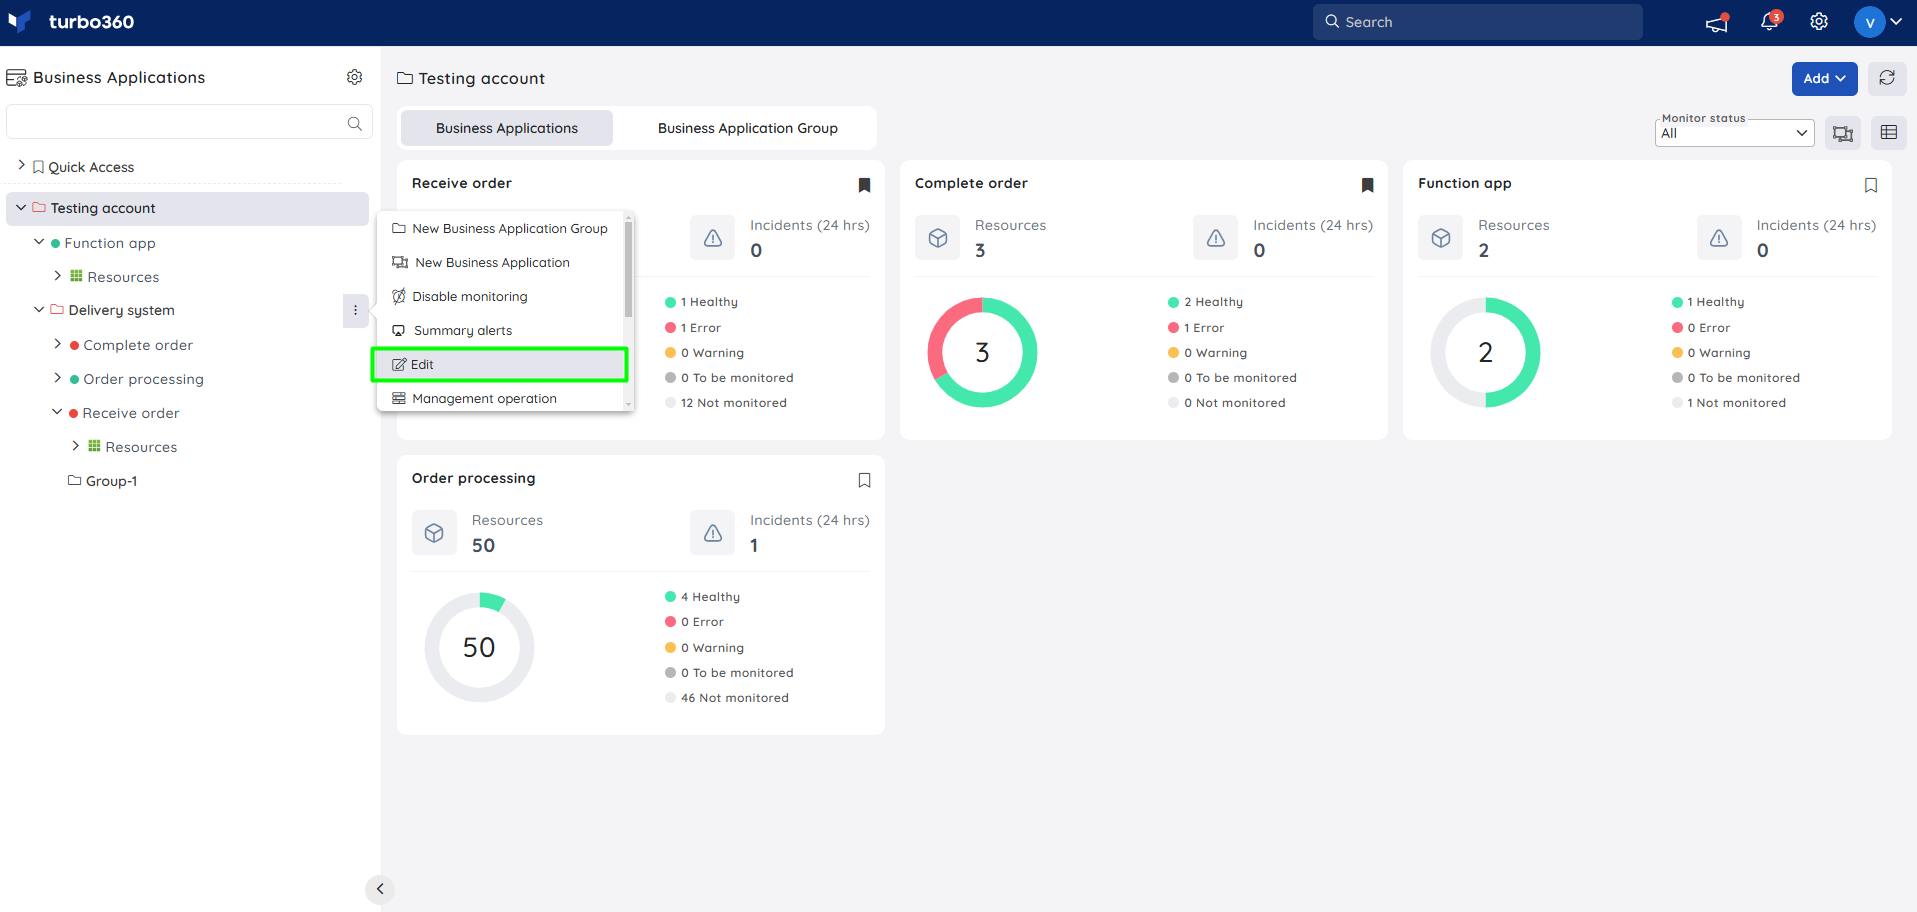
- Click on the three-dotted icon next to any of the Business Groups in the tree structure.
- Choose the Edit option from the context menu.
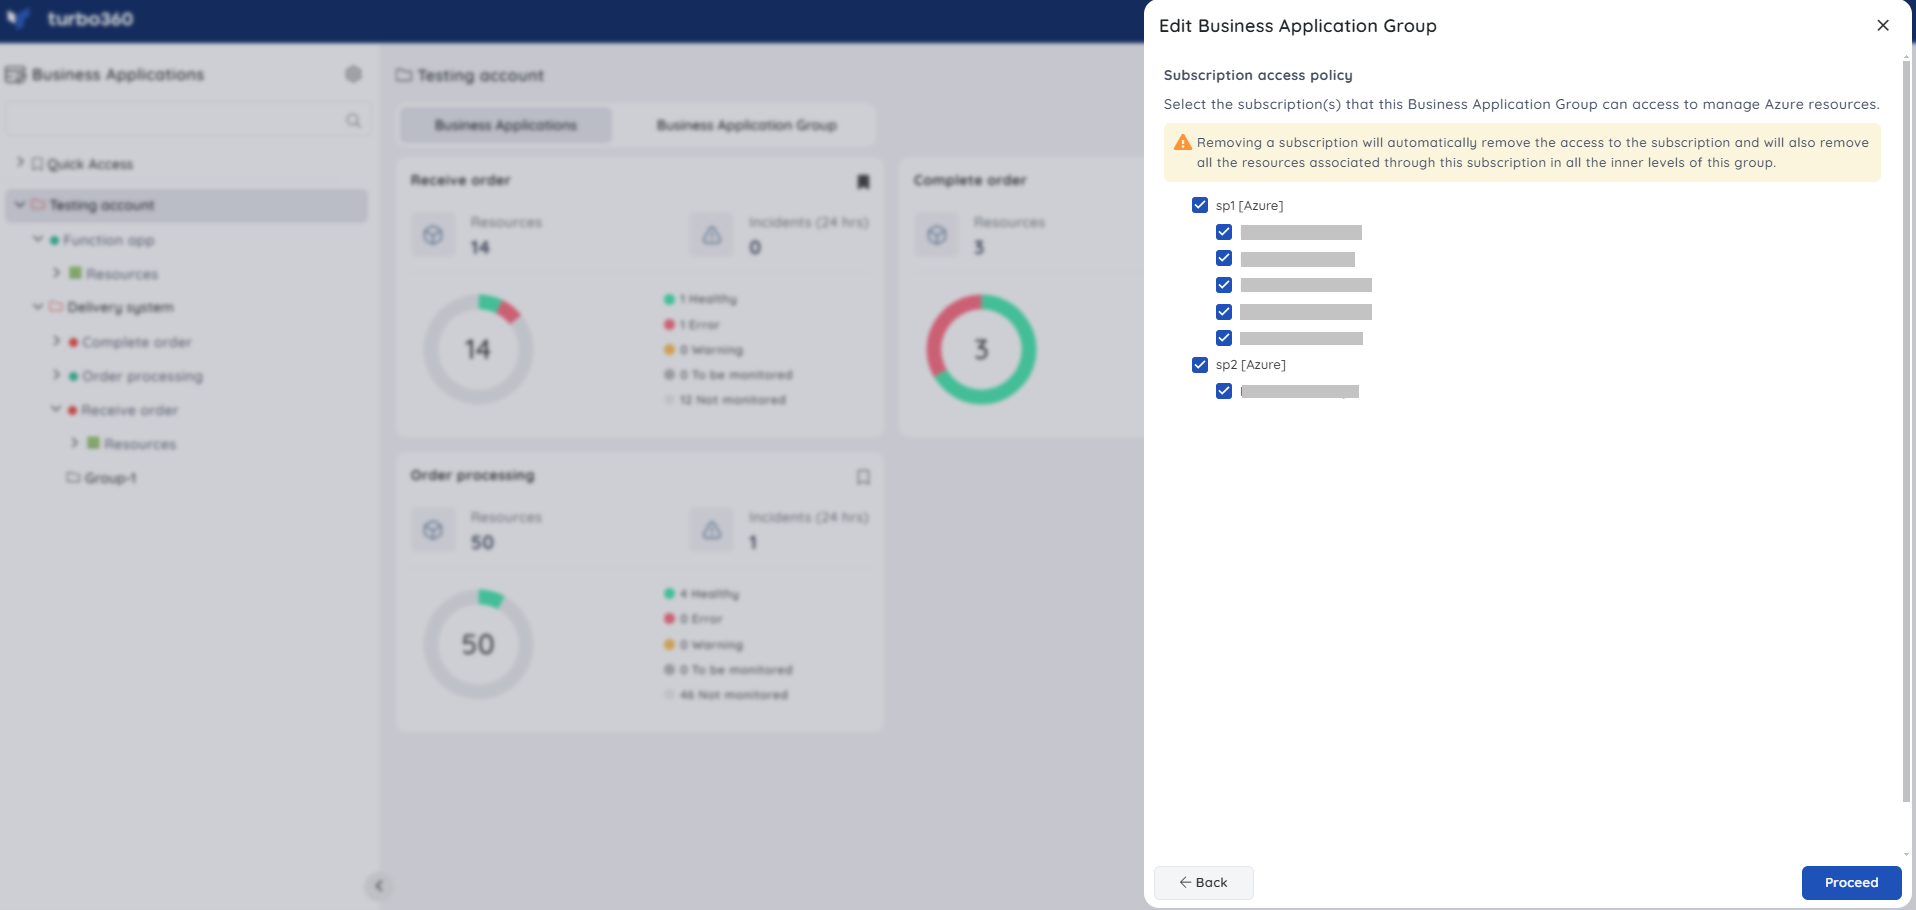
- The details including group name, access policy can be modified and updated. Click Proceed to update the changes.
- Click Continue in the confirmation box.
Removing a Service principal will automatically remove the Service principal and all resources associated with this Service principal in all inner levels of this group.
Delete a group
- Click on the three-dotted icon next to any of the Business Groups in the tree structure.
- Choose the Delete option from the context menu.
- Type the group name to confirm deleting the group.
- Click Delete.
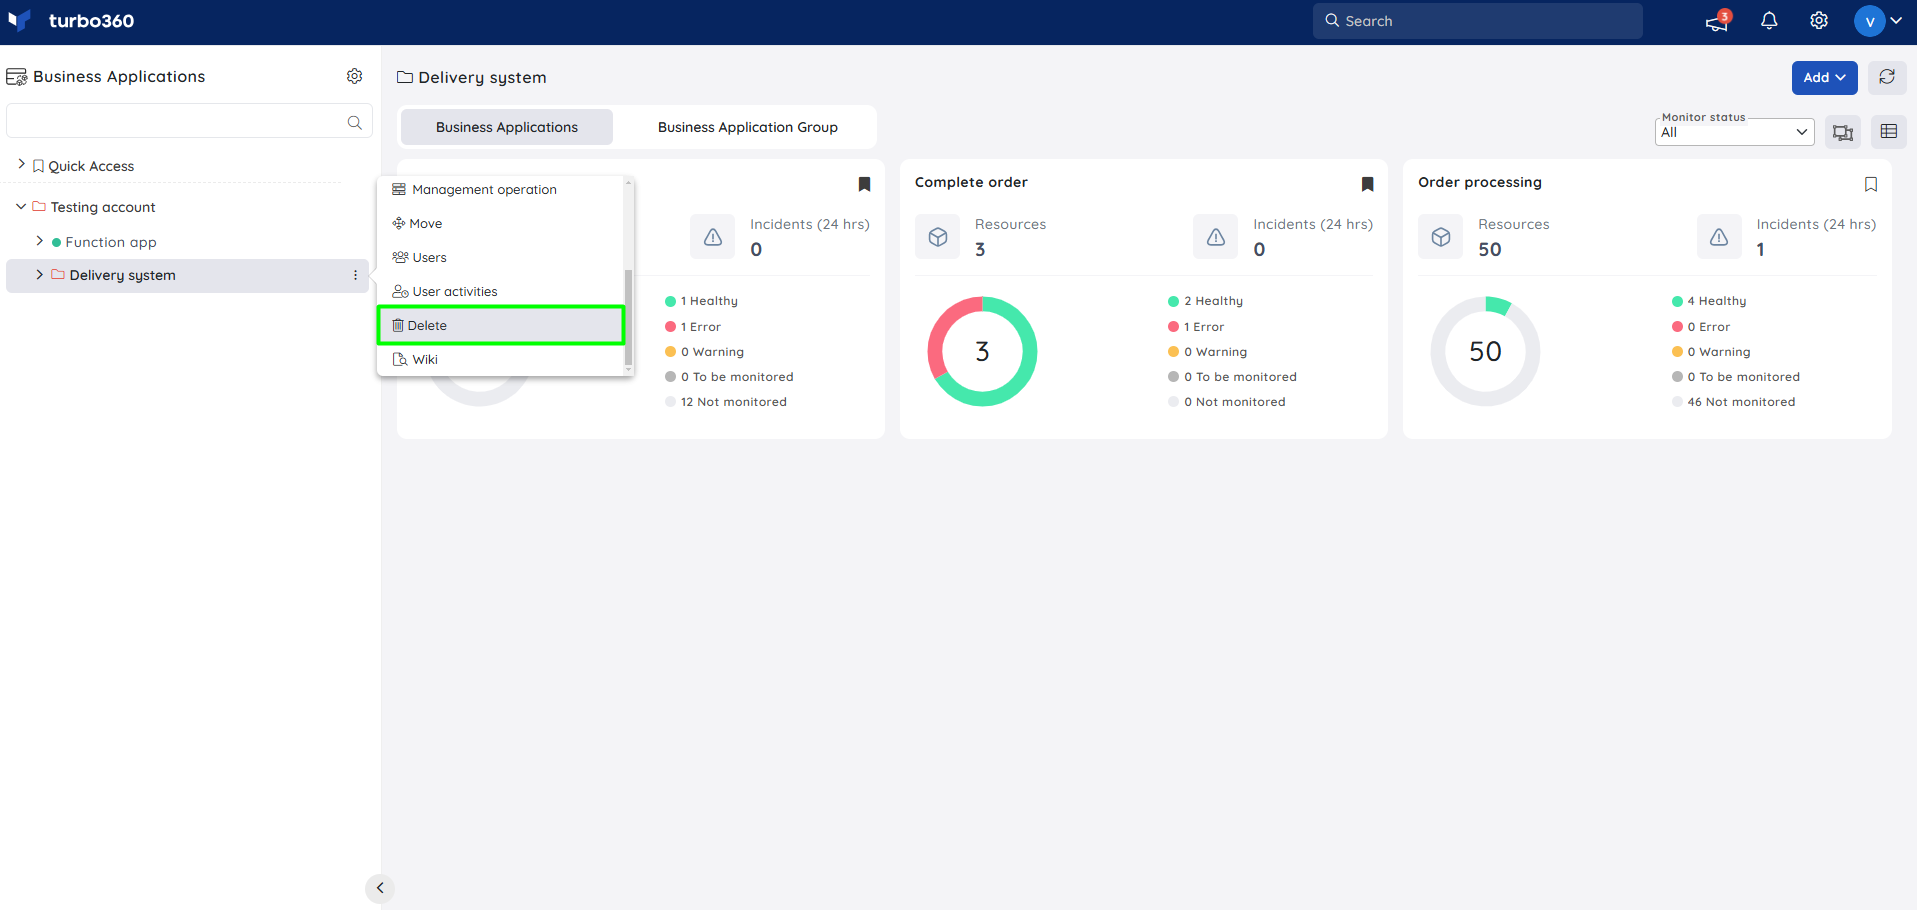
All business applications and child groups in this business application group and their configurations will be deleted.
The deletion of a Business Application Group takes approximately one minute. It will take at least a minute to update the License consumption.
Health indicator
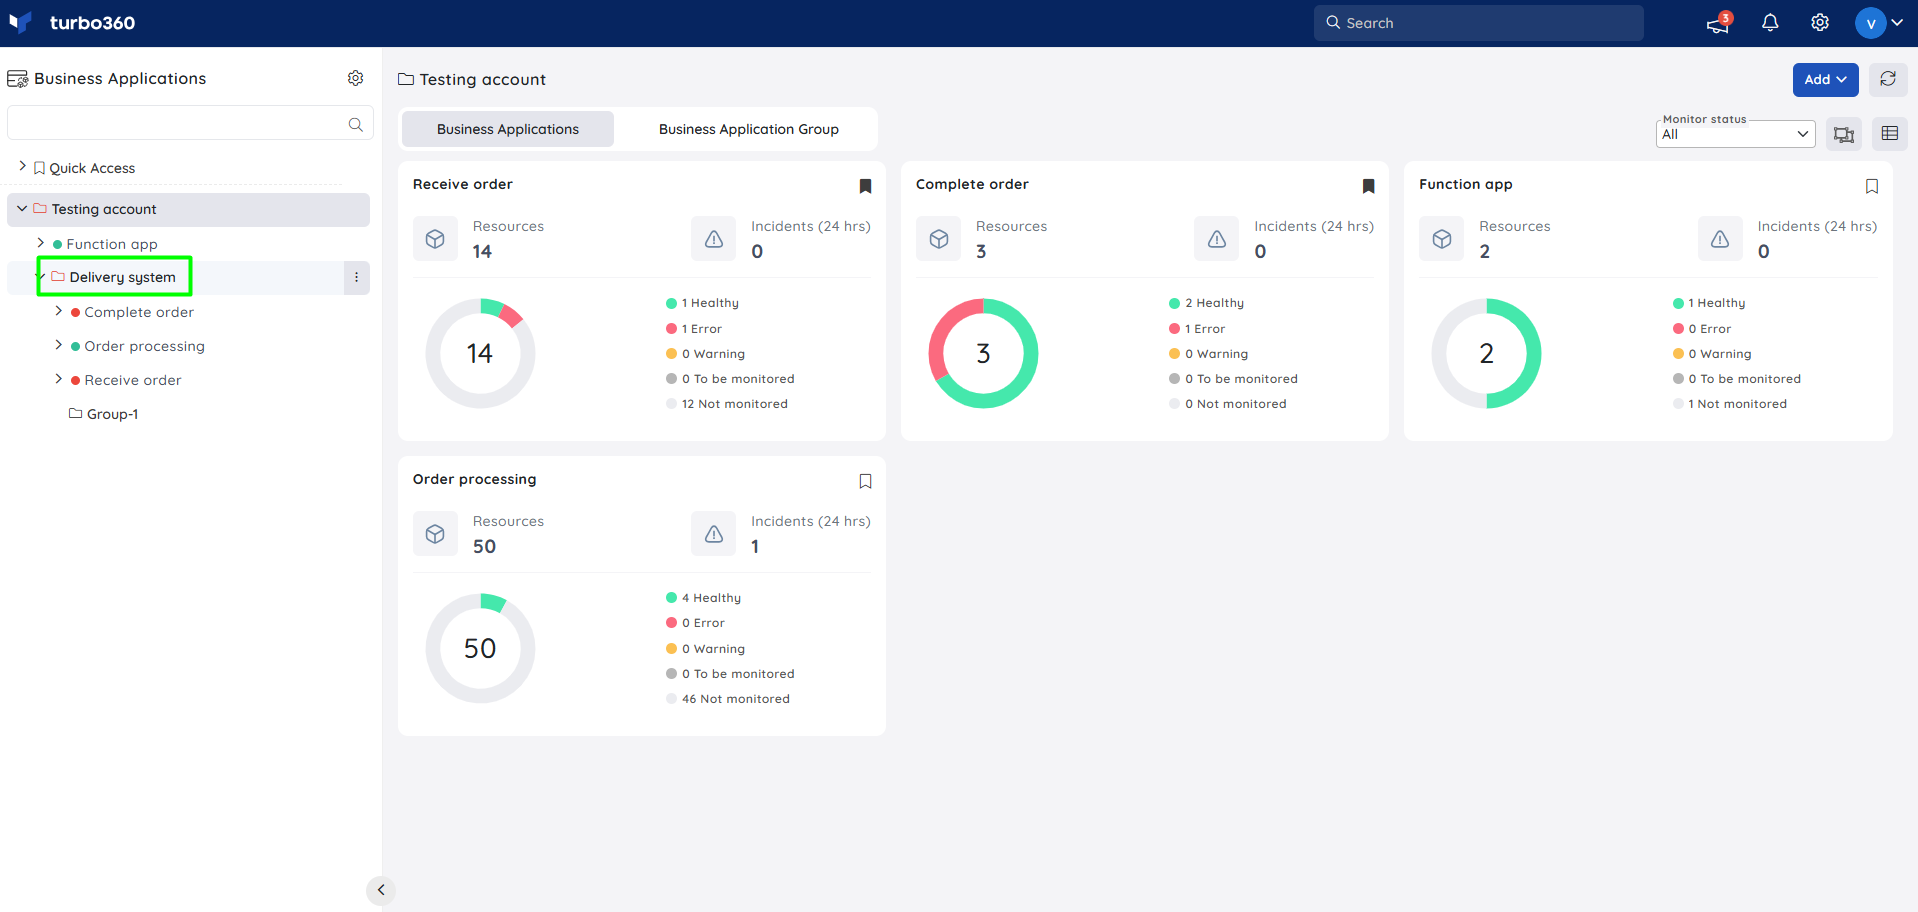
The monitoring state of a business group in the tree view is decided by the high precedence over the health status of the business applications in it, following this order: Error<Warning<Healthy<To be Monitored<Not Monitored.
Update monitoring state
The Monitoring state can be controlled for an entire Business Application group by performing the appropriate operation from the context menu of the respective group in the tree view.
- Open the Context menu next to any business group in the tree view.
- Click Enable/Disable Monitoring from the context menu.
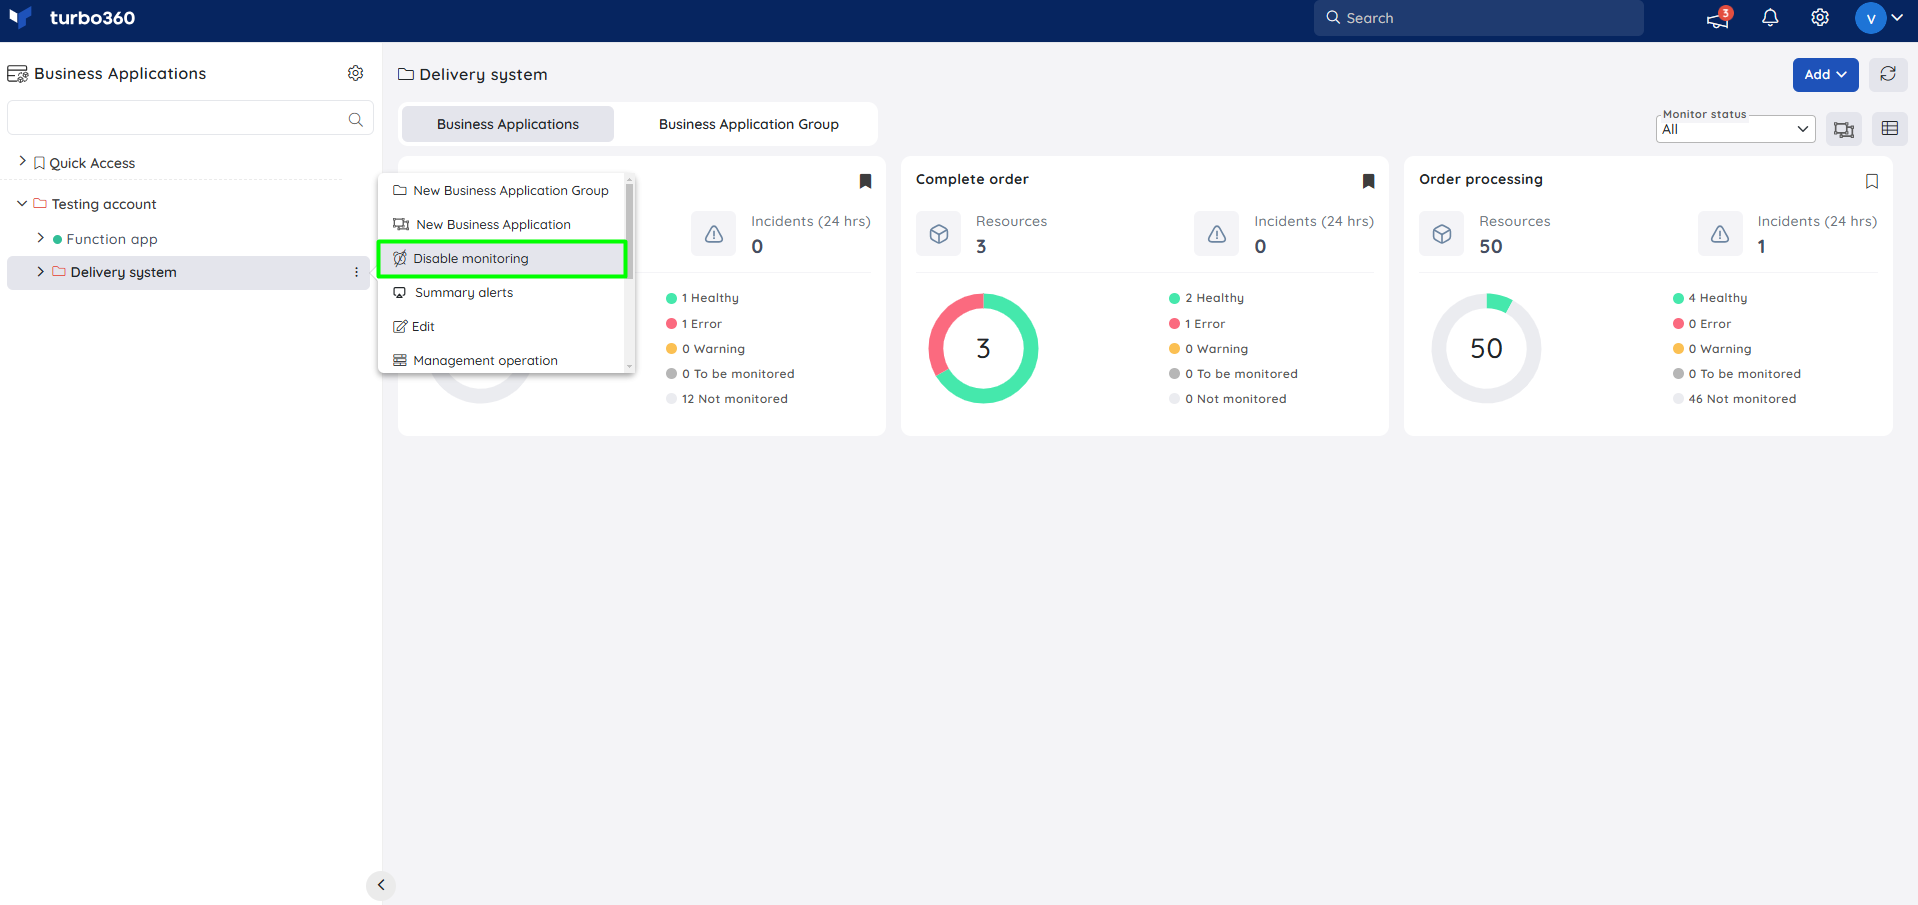
By enabling or disabling monitoring at a Business Group level, monitoring for the Business Applications under the group and all its nested groups will be started or stopped respectively.
Pause monitoring
Pause Monitoring allows users to temporarily halt real-time monitoring for specific business application groups, without interrupting overall service operations—ideal for maintenance, testing, or preventing noise from known high-impact activities.
When monitoring is paused:
i) Data Collection Stops: Business applications will move to Not monitored state and the application will not gather metrics for the paused business applications within a business application group.
ii) Alerts Are Suppressed: No alerts or notifications are triggered during the pause period.
iii) Historical Data Is Not Affected: Existing logs and historical data remain intact and accessible.
iv) Manual Resume or Auto-Resume: Monitoring can be resumed manually by turning off the pause monitoring toggle, or it will automatically resume once the specified end date and time is reached.
How to use
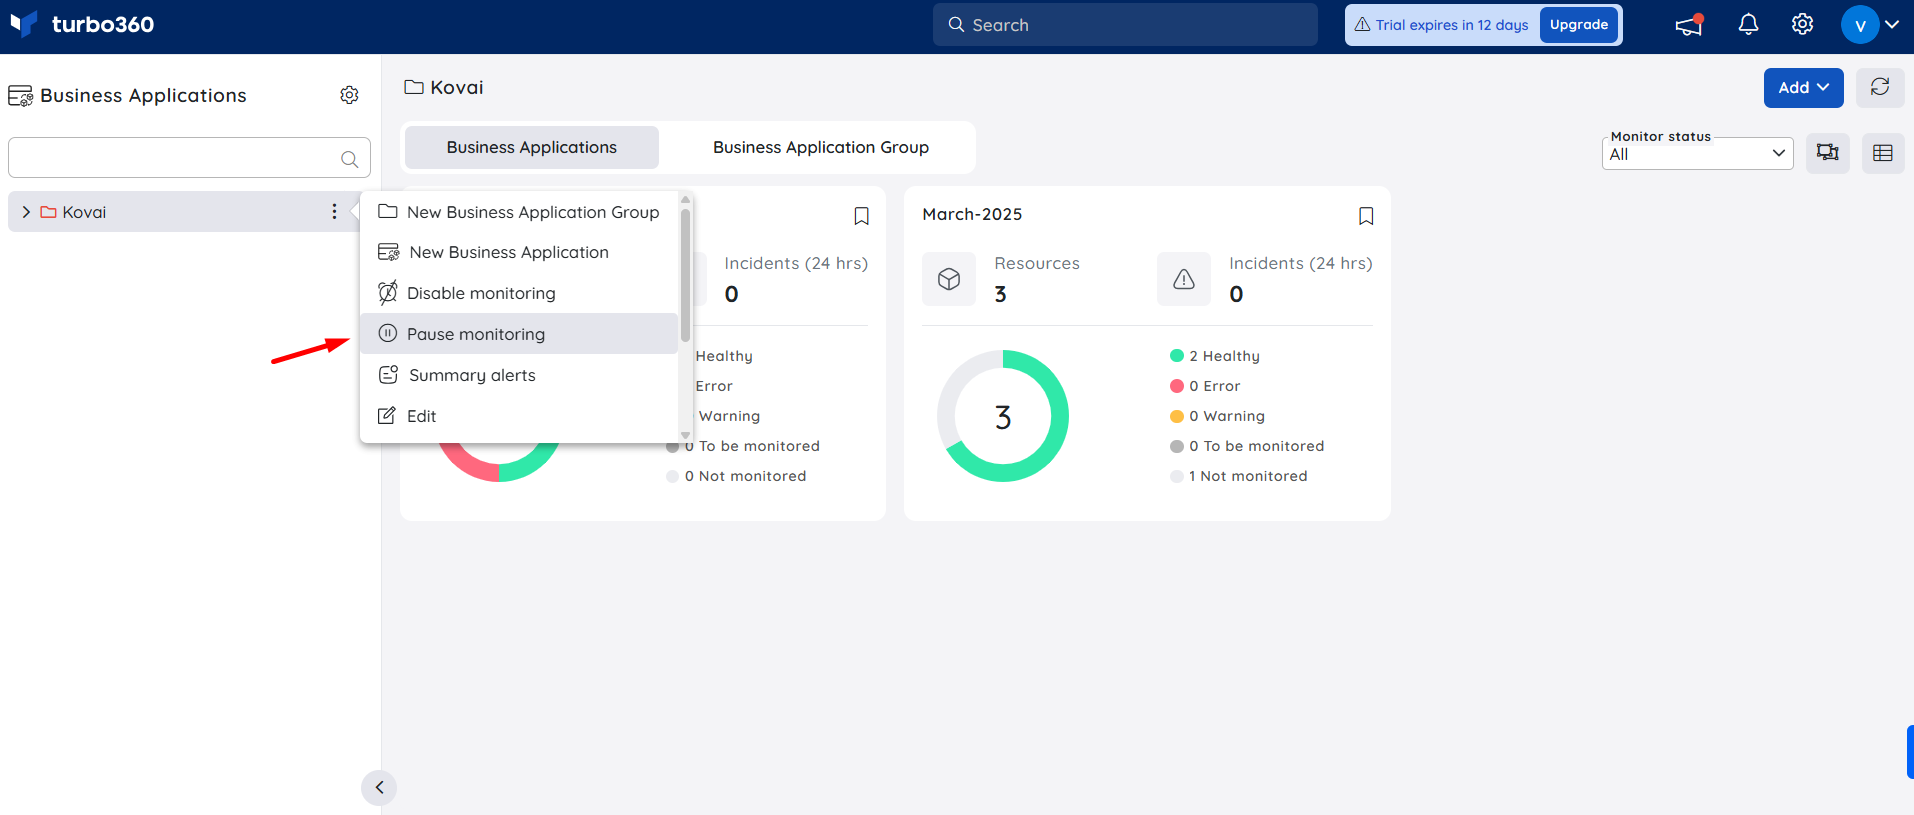
- Click the three-dotted icon next to a Business Application Group in the tree view
- Select Pause monitoring
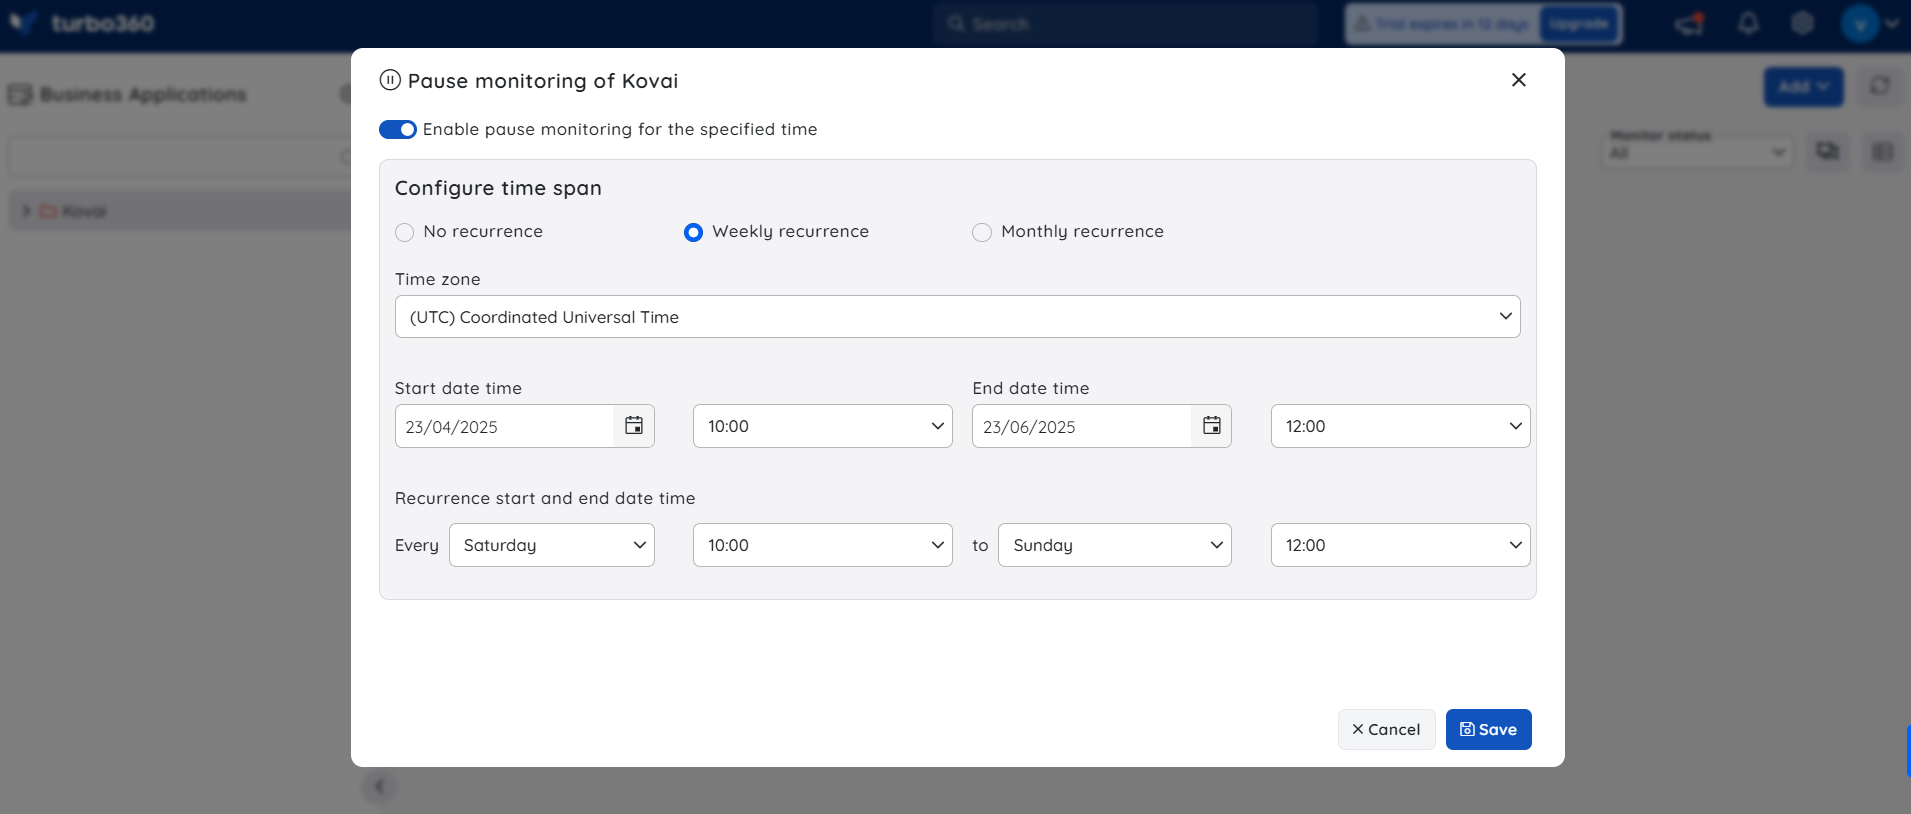
- Enable the toggle
- Choose No Recurrence to define a one-time window with start and end times and a time zone.
- Select the Weekly or Monthly recurrence option to automatically run pause monitoring on specified days and times within the defined start and end dates.
- Click Save to apply the pause monitoring configuration.
Limitations
- No performance metrics will be available for the paused period.
- Alerts triggered before the pause will remain open until resolved or acknowledged.
- Pause monitoring does not stop the module's other background operations or dependencies.
Management operation
Resources supporting state management operations such as start, stop, and others can be effectively managed through Group-level management operations, allowing these actions to be performed simultaneously across all Business Applications with compatible resources within the group.
The list of compatible resources include:
| Resource Type | Supported operations |
|---|---|
| API App | Start / Stop / Restart |
| APIM Product | Publish / Unpublish |
| Azure Function | Start / Stop / Restart |
| Databrick Compute Cluster | Start / Stop / Restart |
| Databrick Workflow Delta Live Table | Start / Stop / Restart |
| Event Hub | Enable / Disable |
| Kubernetes | Start / Stop / Restart |
| Logic App | Enable / Disable |
| Logic App (Standard) | Enable / Disable |
| Logic App Workflow (Standard) | Enable / Disable |
| Power Automate | Enable / Disable |
| Service Bus Queue | Active / Disabled |
| Service Bus Topic | Active / Disabled |
| Service Bus Topic Subscription | Active / Disabled |
| Virtual Machine | Start / Stop / Restart |
| Web App | Start / Stop / Restart |
| Web Job | Start / Stop / Restart |
- Open the Context menu next to any business group in the tree view.
- Select Management Operations from the context menu
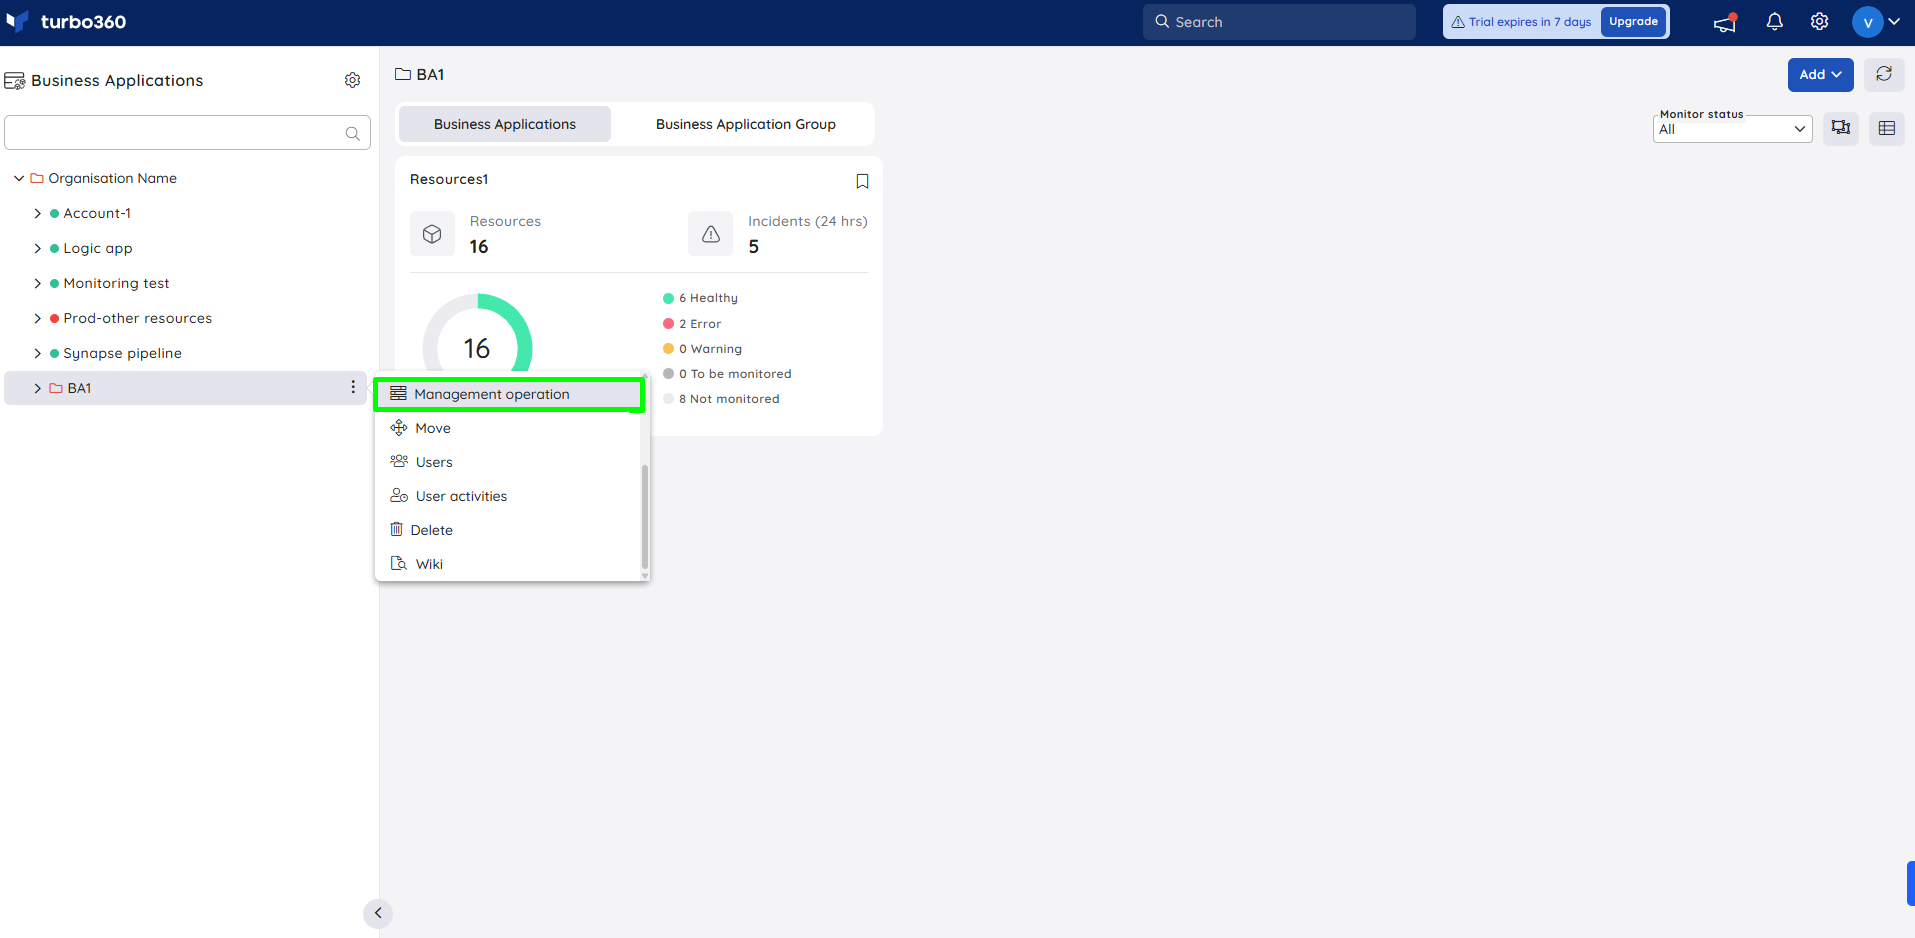
- Select the desired operation to be applied to all compatible resources within the business application. Here, the Start option correlates with operations like Publish, Active state and Enable whereas the Stop option correlates with operations like Unpublish, and Disabled state.
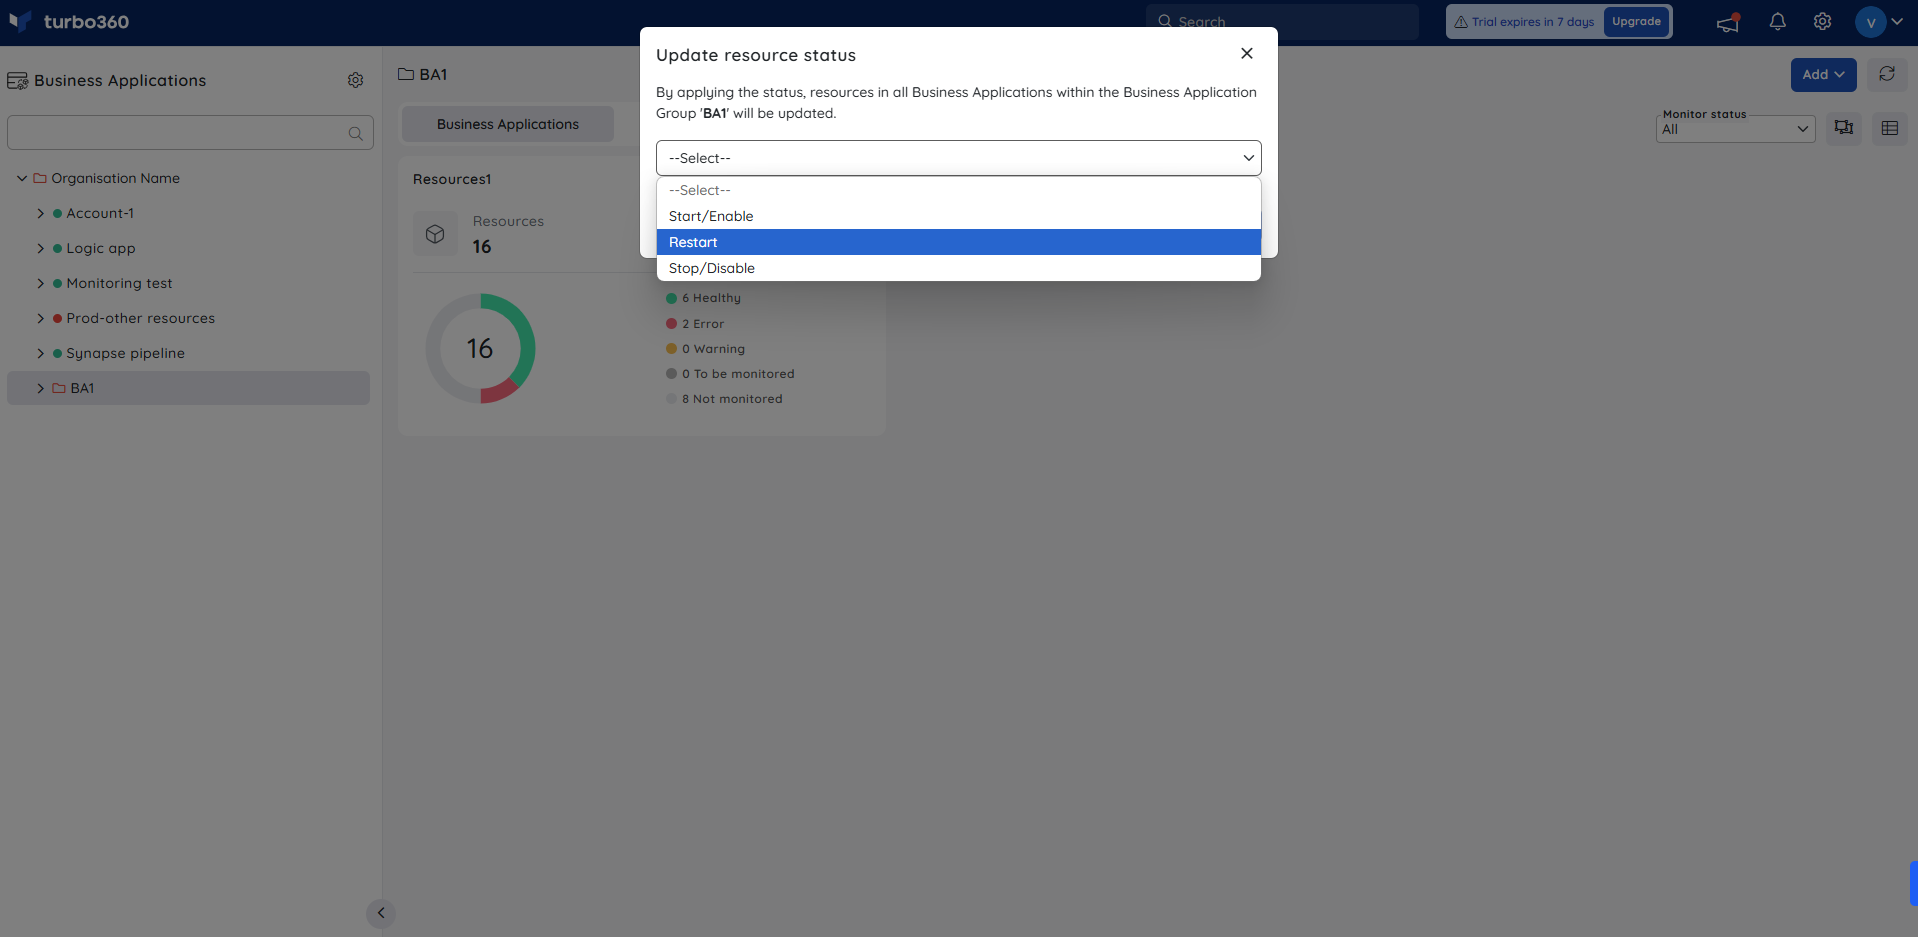
- Click Confirm.
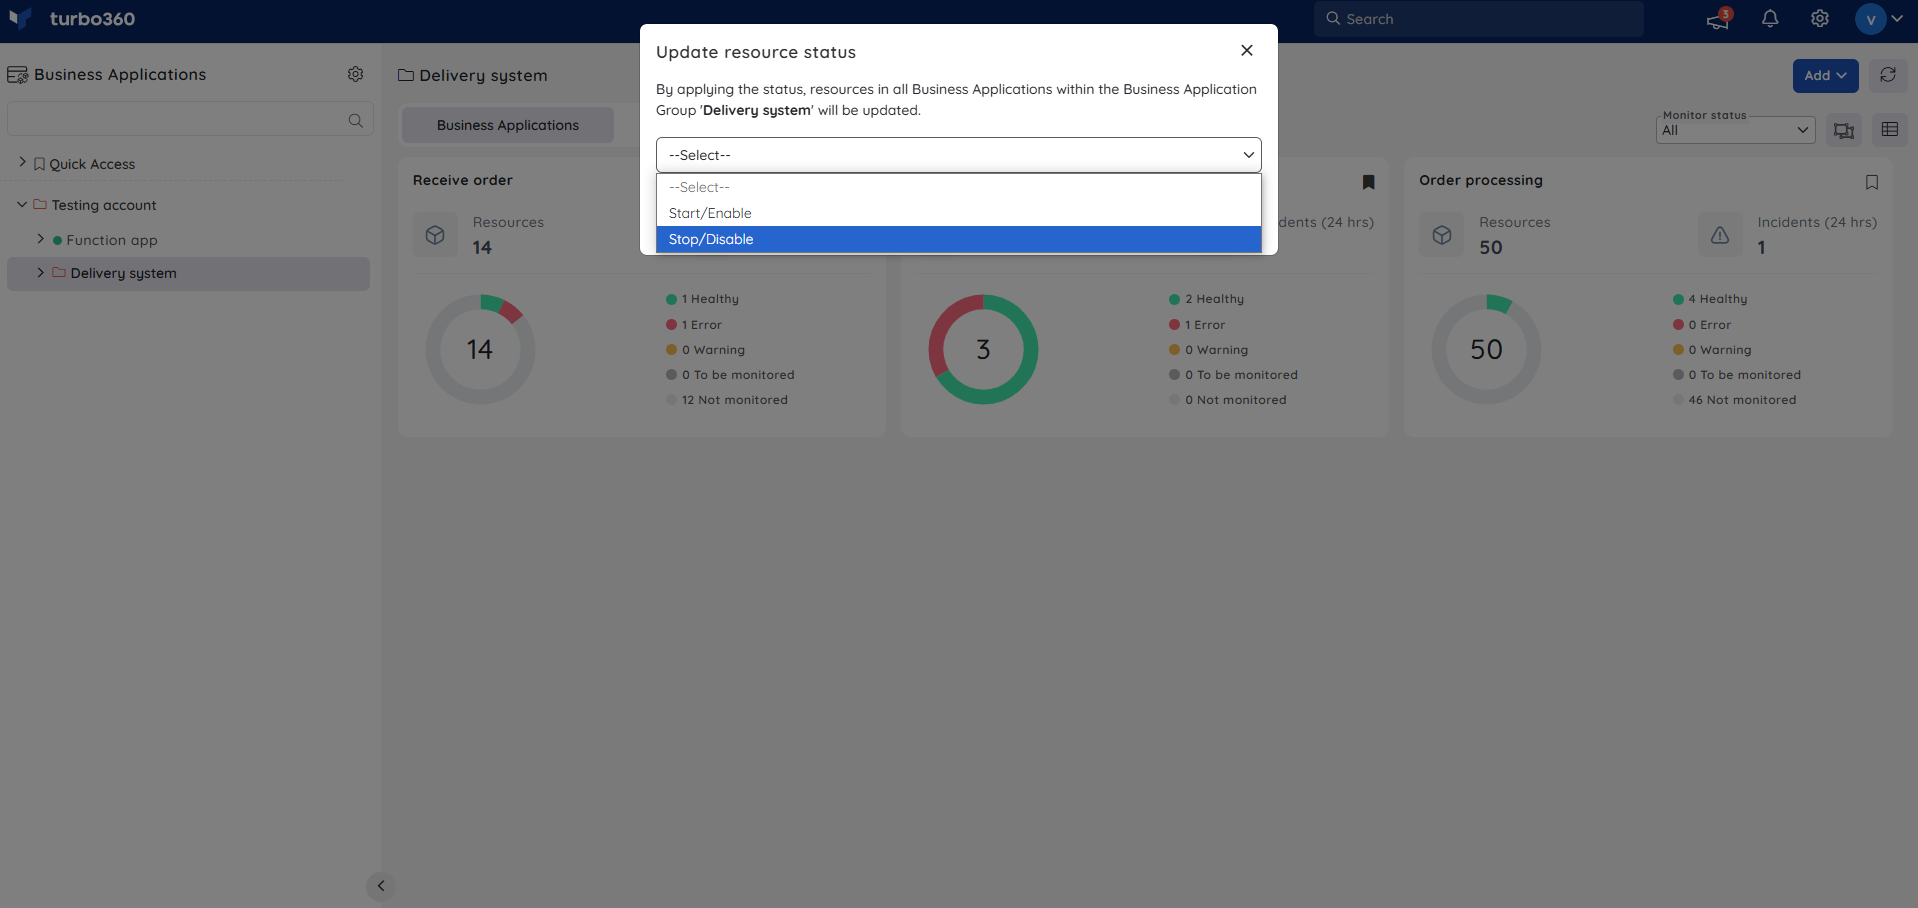
The status will be reflected for compatible resources available across all Business Applications within the respective Group.
Access Policy
Each Service principal is assigned to the root Business Application group by default. As a result, there is no way to change the root Business group's Service principal access policy.
When a Business Application or a nested Business Group is moved into a parent Business Group, the parent group's Service principal access policy takes precedence, and the resources associated with the parent Service principal are overridden.

