Managing Document Groups
- 27 Jun 2025
- 1 Minute to read
- Print
- DarkLight
- Download PDF
Managing Document Groups
- Updated on 27 Jun 2025
- 1 Minute to read
- Print
- DarkLight
- Download PDF
Article summary
Did you find this summary helpful?
Thank you for your feedback!
Introduction
Azure Document Groups can be created to organize the Azure Subscriptions and perform Document generation, Policy assignments, and Diagrams on them.
A Document Group can contain multiple sub-groups.
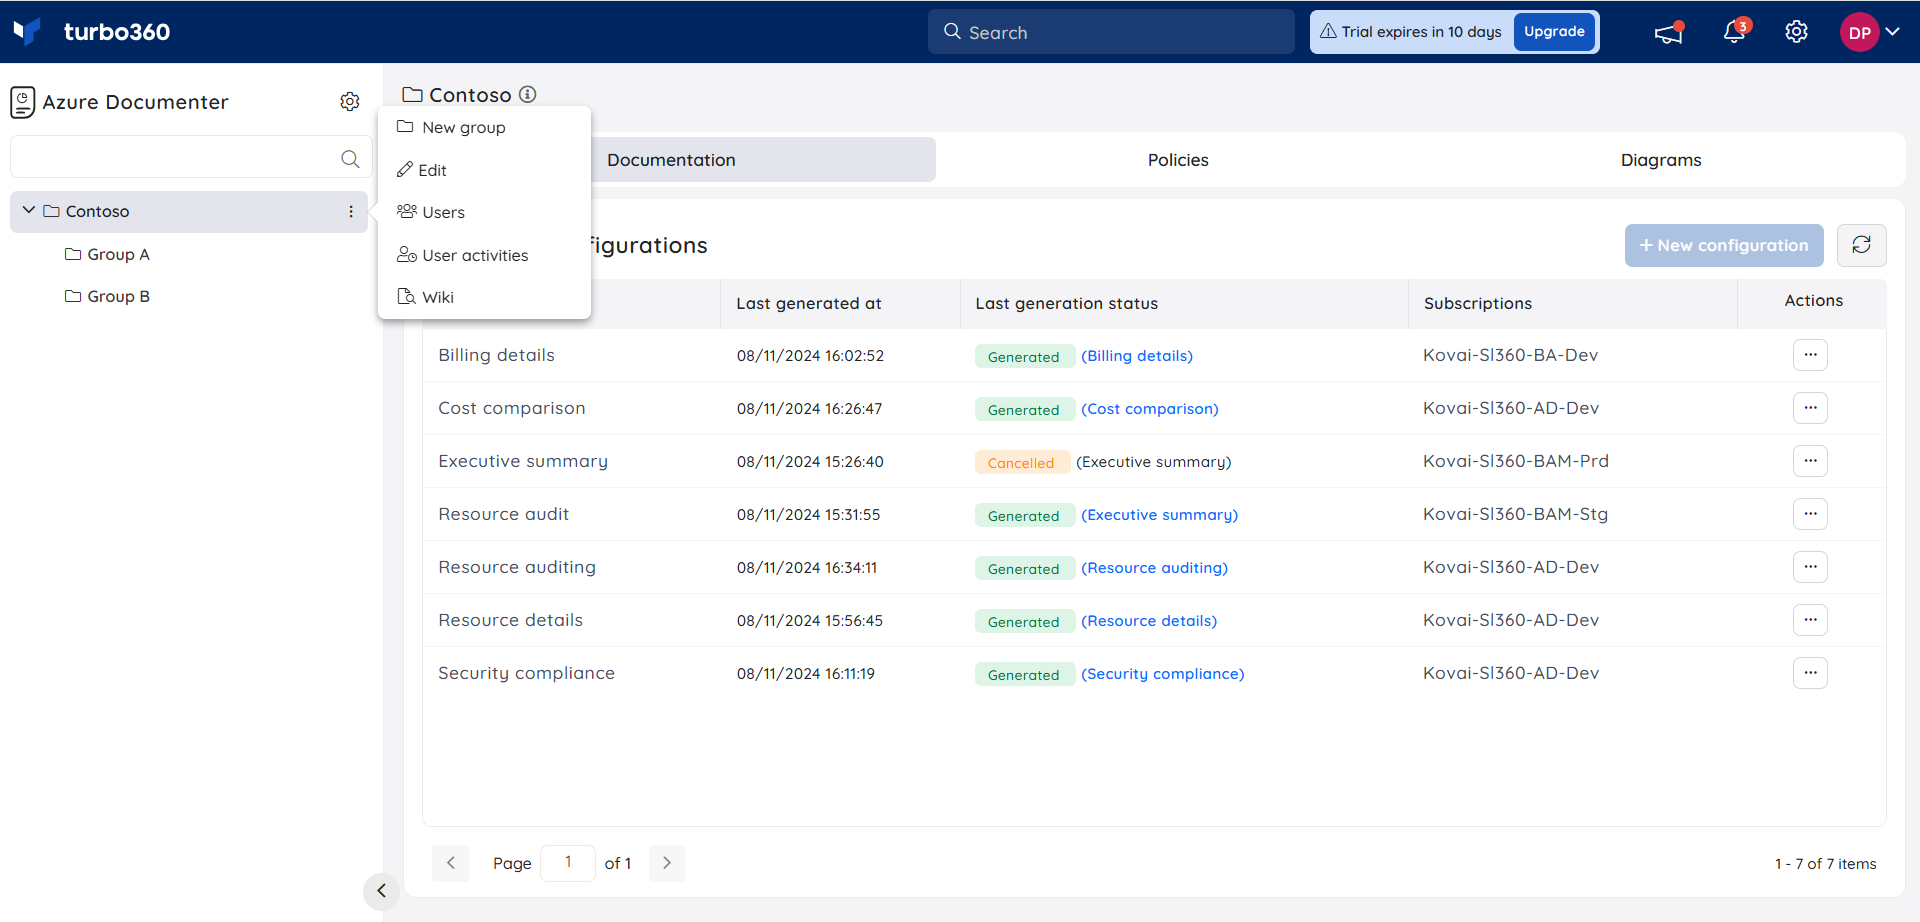
Add a Group
- Click the three-dotted icon next to any group in the tree view to create a new group
- Select New Group
- Enter a name to the group and click Next
- Choose the necessary subscriptions for which the Group needs access to.
- Click Save

Edit a Group
- Click the three-dotted icon next to the desired group in the tree view
- Select the Edit option in the group context menu
- The name and description of the group can be modified
- Click Update
Scope Selection
- Click the three-dotted icon next to the desired group in the tree view
- Select Scope selection
- Choose the required subscriptions and click Proceed
- Click Continue in the confirmation box

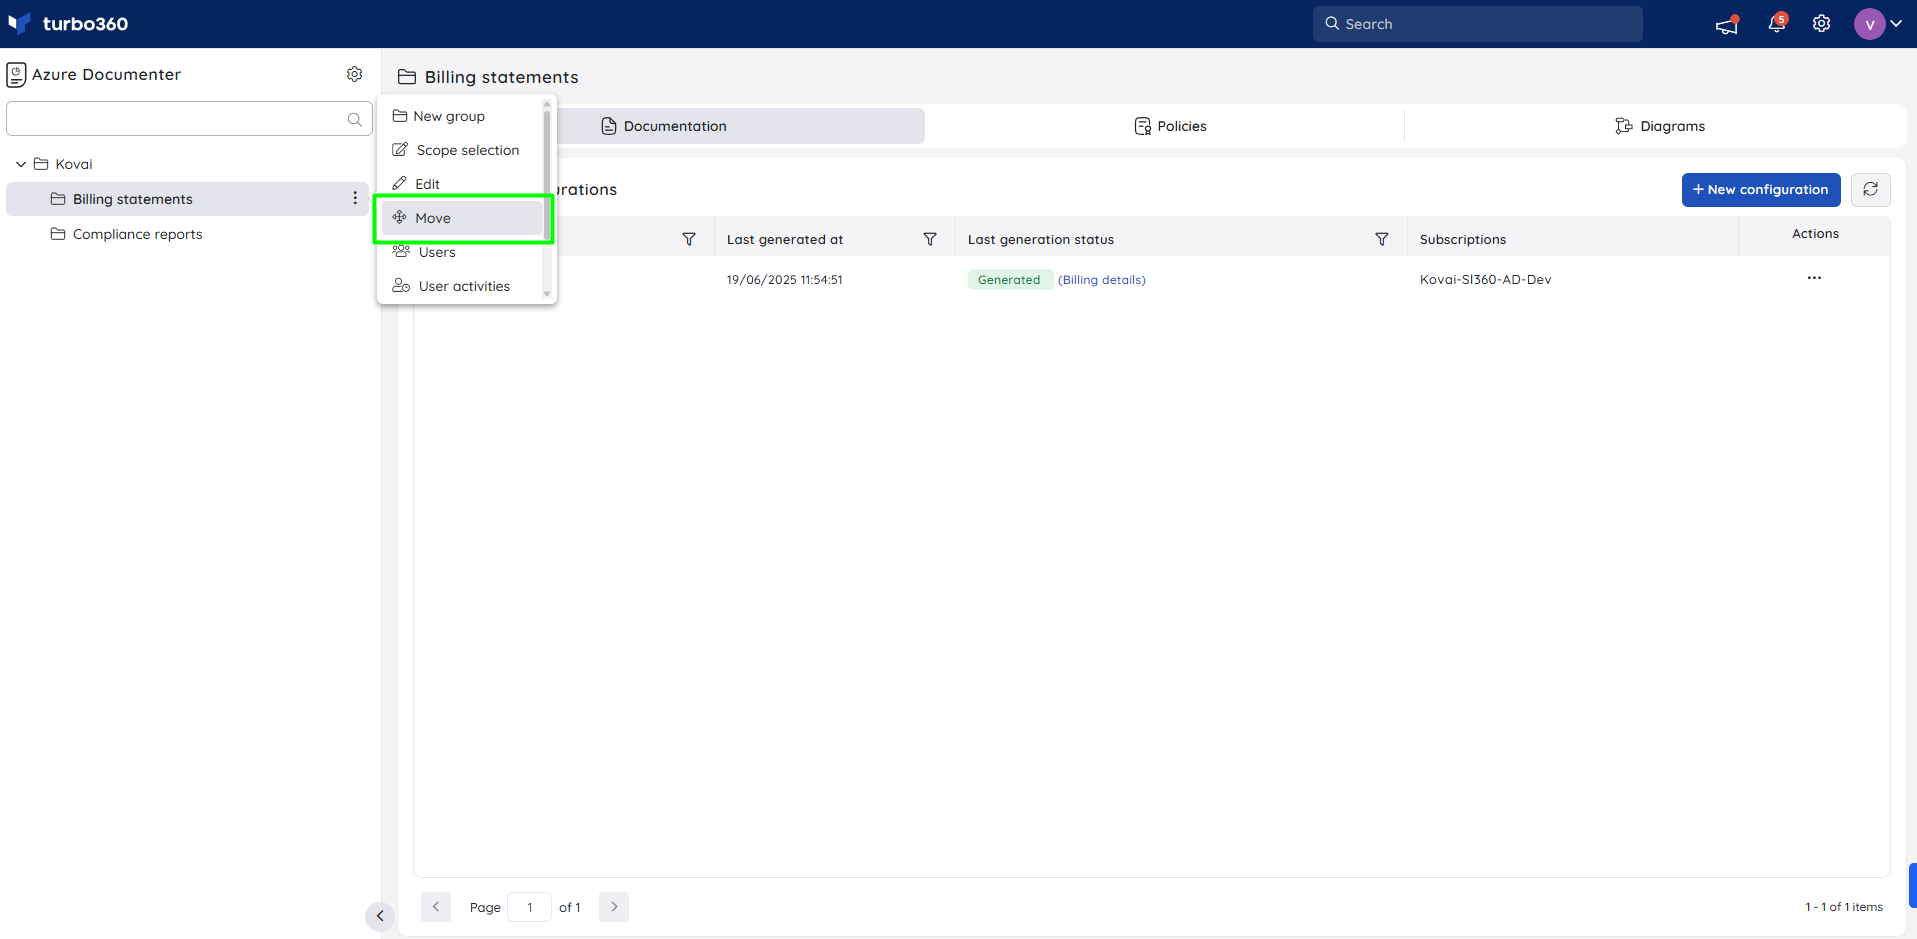
Move a group
When a Document group is moved from a source group to a destination group, it is restructured under a new hierarchy. While the associated cost data and resource links remain intact, the group's access permissions are replaced by those defined in the destination group.
To move a Document group from a source group to a destination group, follow these steps:
- In the tree view, click the three-dot icon next to the group node to be moved.
- Select Move from the menu.
- Choose the destination group where the selected Document group should be moved.
- Click the Move button to confirm the action.

Access policy impact
During the move:
The user and service principal access policies defined in the source group are overridden by those configured in the destination group.
Any custom role assignments, inherited permissions, or explicit access controls associated with the source group will no longer apply.
This change is immediate and cannot be reversed. Ensure that all necessary users and service principals have appropriate access in the destination group before proceeding with the move.
Delete a group
- Click the three-dotted icon next to the desired group in the tree view
- Select Delete to delete the group
Wiki
- Click the three-dotted icon next to the desired group in the tree view
- Select Wiki to access the articles associated with the group
Was this article helpful?